Blog
How to Add or Remove AutoCorrect Entries in Word

AutoCorrect in Microsoft Word is a powerful tool that automatically replaces common typos and abbreviations with the correct text. By customizing AutoCorrect, you can save time and streamline your writing process. Whether you’re adding new entries or removing outdated ones, this step-by-step guide will help you efficiently manage your AutoCorrect settings in Word.
How to Add AutoCorrect Entries in Word
Adding AutoCorrect entries is simple and can significantly speed up your writing. Here’s how you can do it:
Step 1: Open AutoCorrect Options
- Open Microsoft Word.
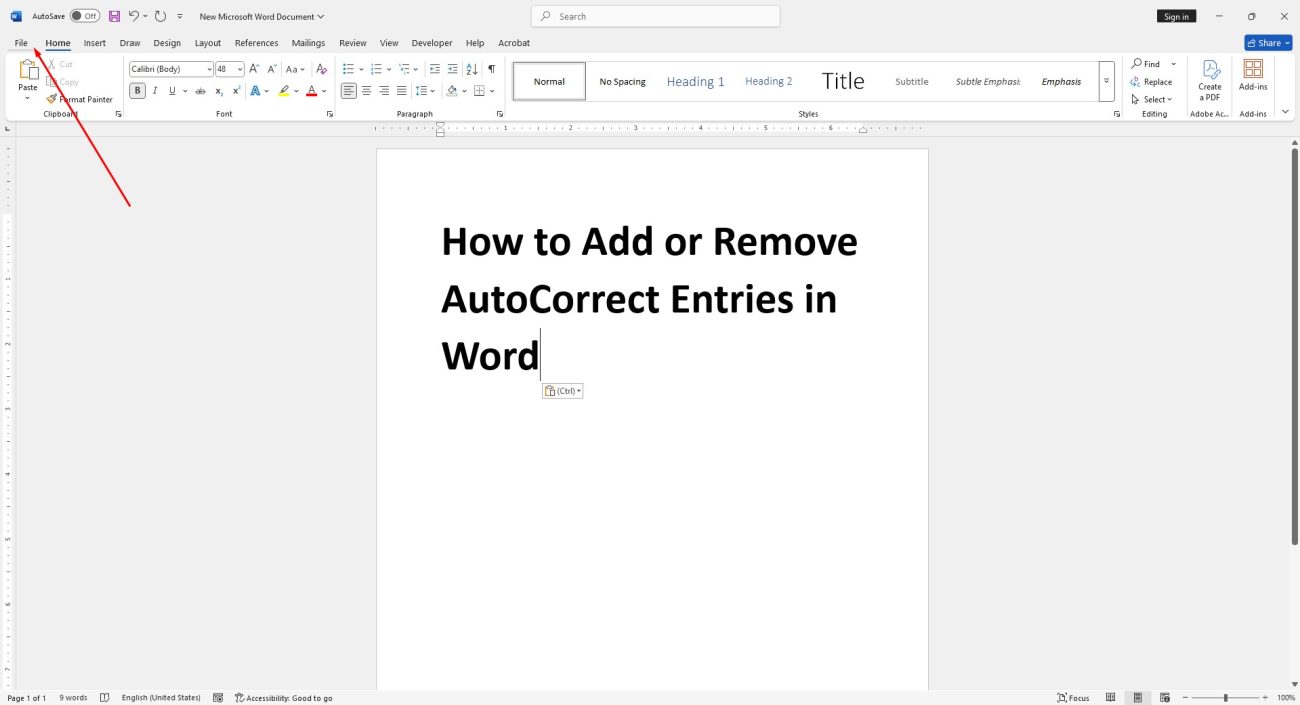
- Go to the File tab in the top left corner.
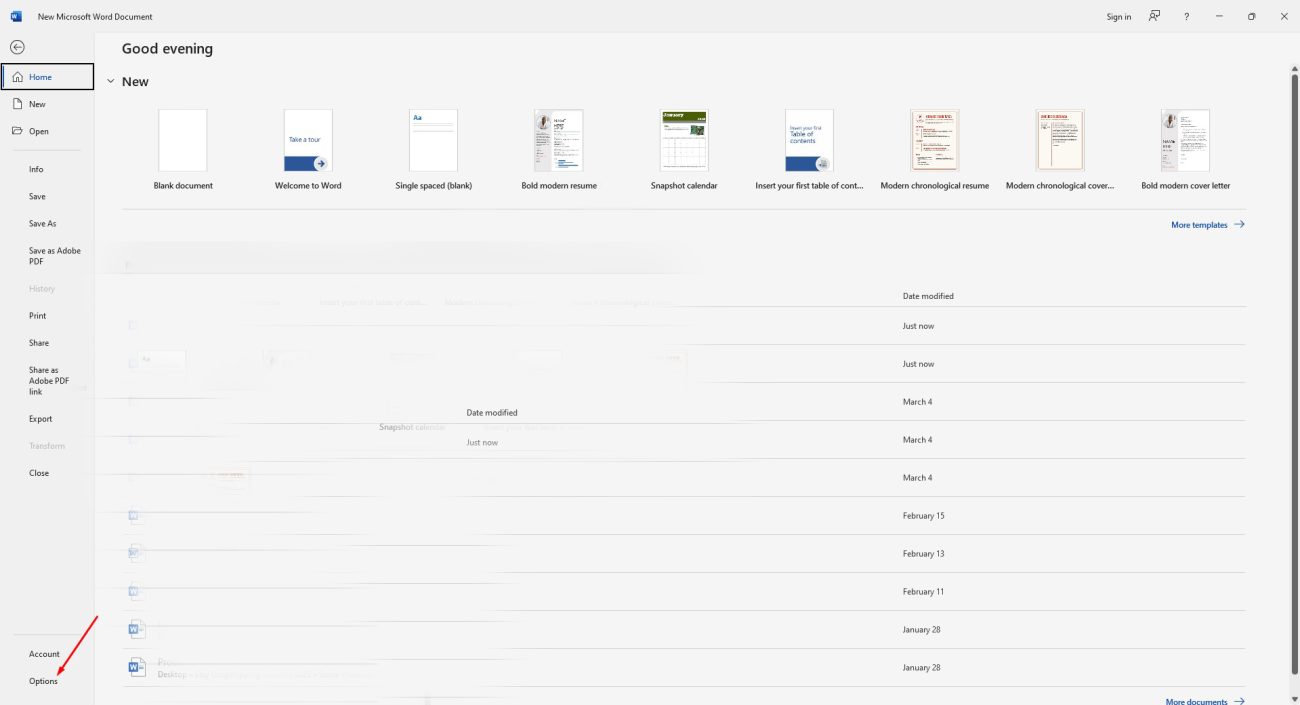
- Select Options at the bottom of the left sidebar.
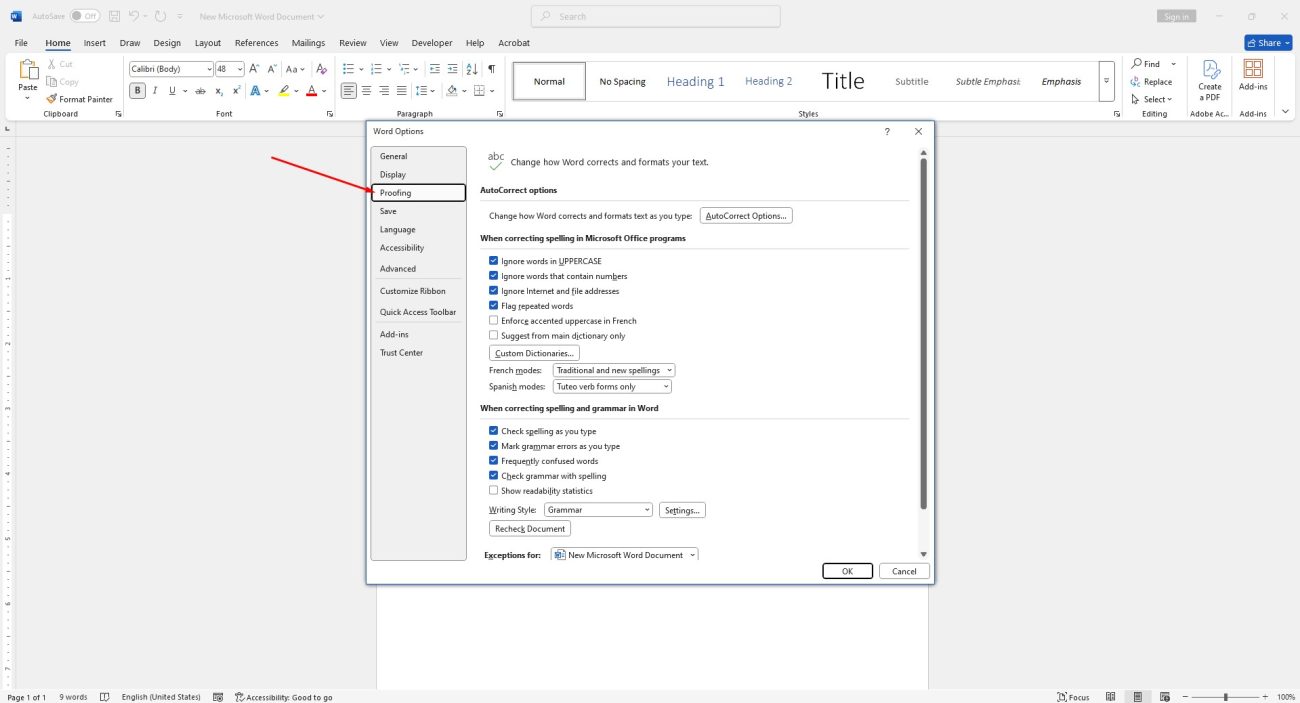
- In the Word Options window, click Proofing in the left pane.
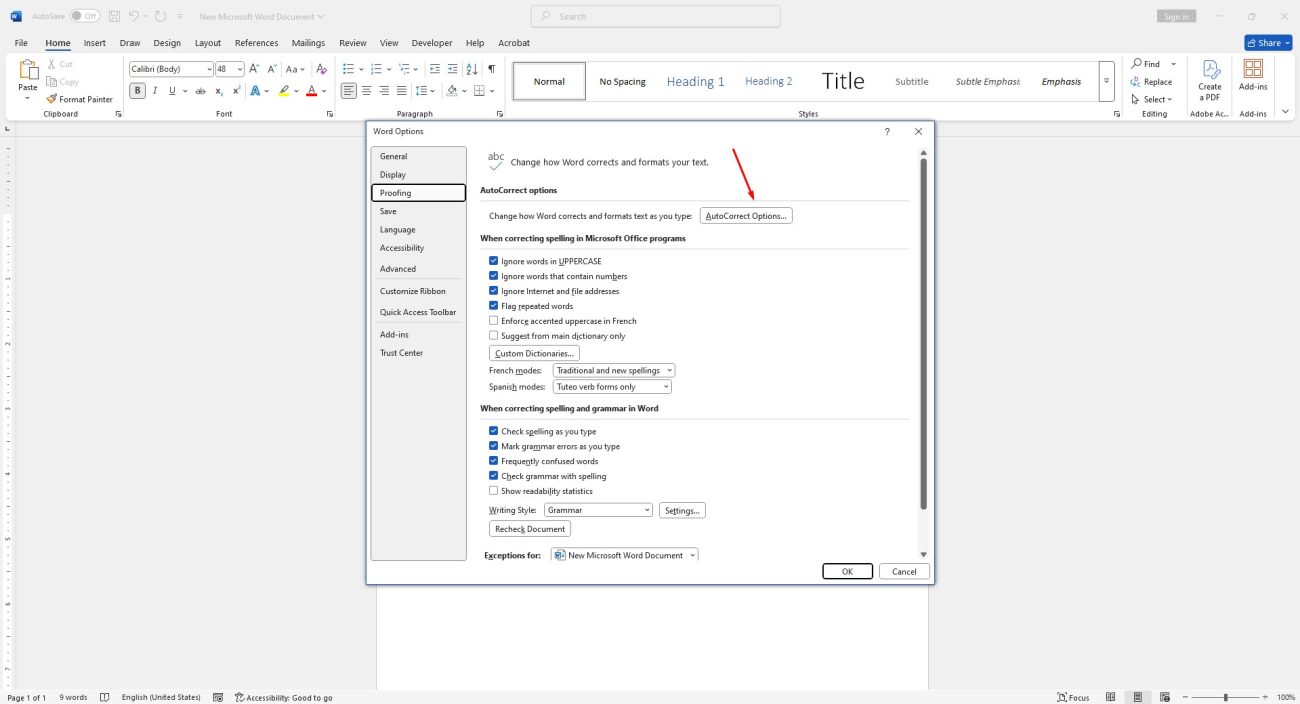
- Click the AutoCorrect Options button.
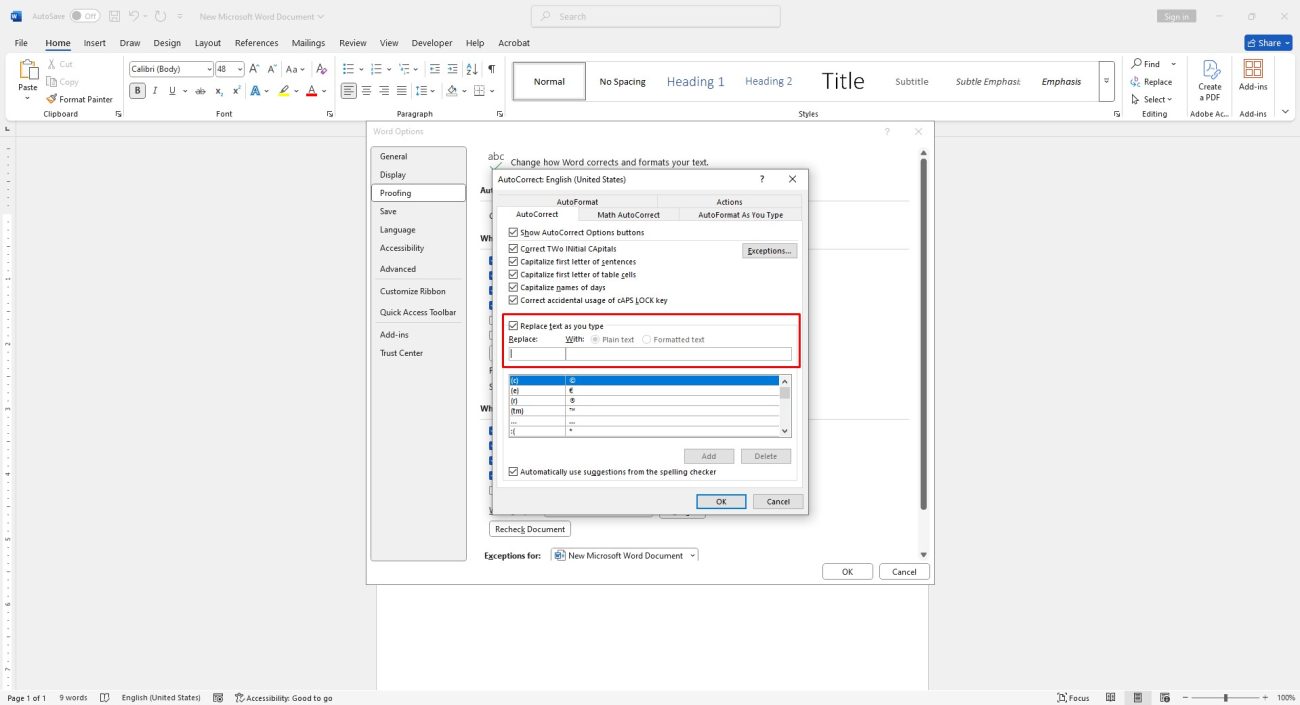
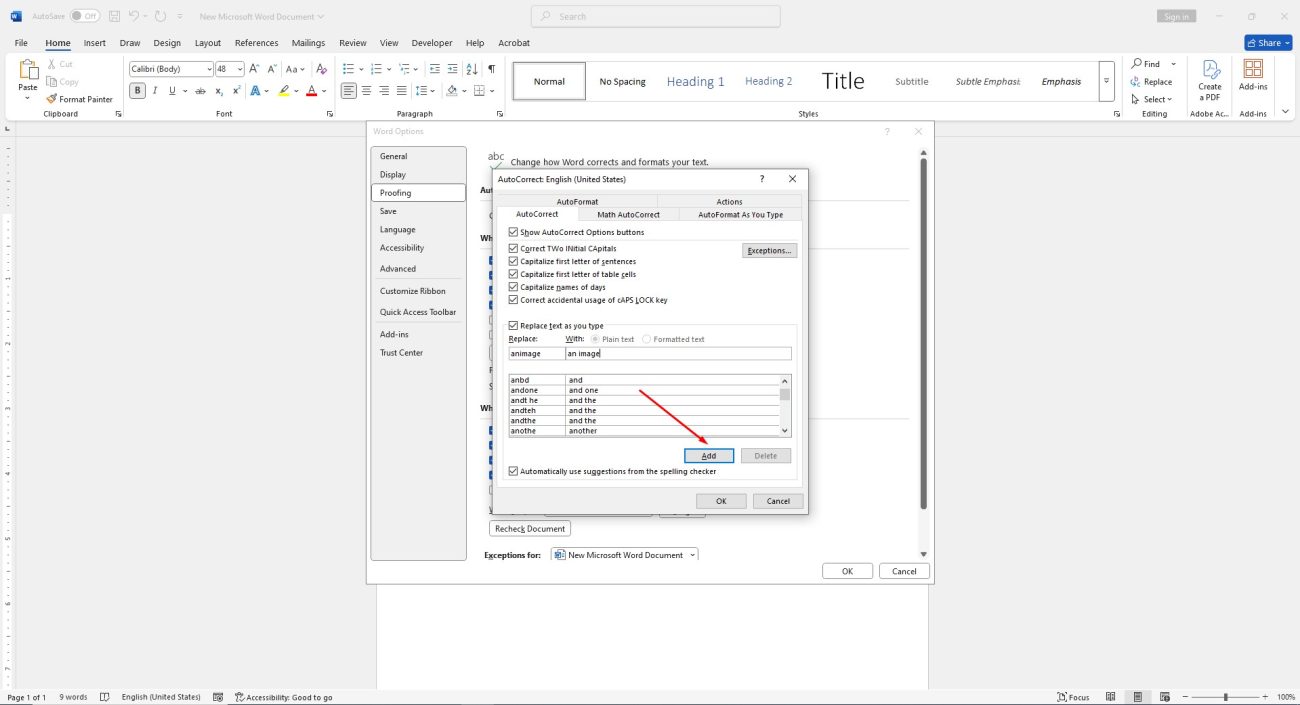
Step 2: Add a New AutoCorrect Entry
- In the AutoCorrect window, you’ll see two fields: Replace and With.
- Type the word or phrase you want to replace in the Replace box.
- Enter the replacement word or phrase in the With box.
- Click Add to save the new entry.
Step 3: Save Your Changes
After adding your AutoCorrect entry, click OK to save the changes and close the window. The AutoCorrect feature will now automatically replace the text in your documents.
How to Remove AutoCorrect Entries in Word
If you have outdated or incorrect AutoCorrect entries, you can easily delete them. Here’s how:
Step 1: Open AutoCorrect Options
- Open Microsoft Word.
- Navigate to the File tab and select Options.
- In the Word Options window, click Proofing.
- Click the AutoCorrect Options button to open the AutoCorrect window.
Step 2: Delete an AutoCorrect Entry
- In the AutoCorrect window, you’ll see an alphabetical list of entries.
- Scroll through the list and find the entry you want to delete.
- Select the entry and click the Delete button.
- Click OK to confirm and close the window.
Step 3: Verify the Changes
After deleting an entry, test it in your document to ensure the AutoCorrect entry has been removed.
Why Customize AutoCorrect in Word?
Customizing AutoCorrect in Word offers several benefits:
- Time-Saving: Automatically corrects common typos and abbreviations, speeding up your writing process.
- Consistency: Ensures consistent use of phrases, terms, and formatting throughout your document.
- Efficiency: Reduces the need for manual corrections and improves overall workflow.
By managing AutoCorrect entries, you can make your documents more polished and professional with minimal effort.
Buy Office today. Instant activation and smooth setup guaranteed!