Blog, Guides

Step-by-Step Guide: Upgrading from Windows Home to Pro

Step 1: Verify Your Current Windows Edition

Before upgrading, confirm your current Windows edition.

  1. Press Win + I to open Settings.
  2. Go to System > About.
  3. Under Windows specifications, check the Edition. If it says "Windows Home," you're ready to upgrade.

*If you need to download Windows 10 or 11, click one of the buttons below.

Upgrade Home to Pro

Step 2: Upgrade

Once you've verified that your Windows edition is Home, proceed to the activation settings and follow these steps to upgrade to Pro:

  1. Enter one of the following generic upgrade keys:
    • VD4D4-NDBGX-MTQ2D-G2D9B-F9CKG
    • VK7JG-NPHTM-C97JM-9MPGT-3V66T
  2. Click Next, then select Start Upgrade.
  3. Your PC will begin upgrading to Windows 11 Pro.

Step 3: Activate

After the upgrade is finished, activate your Windows Pro:

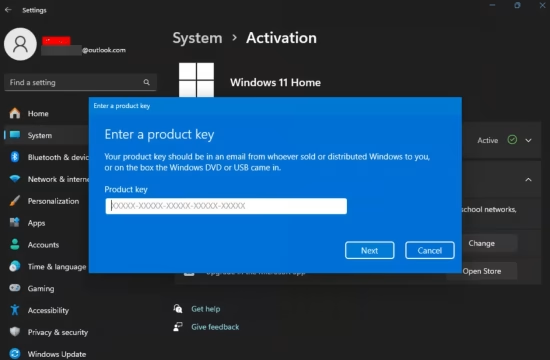
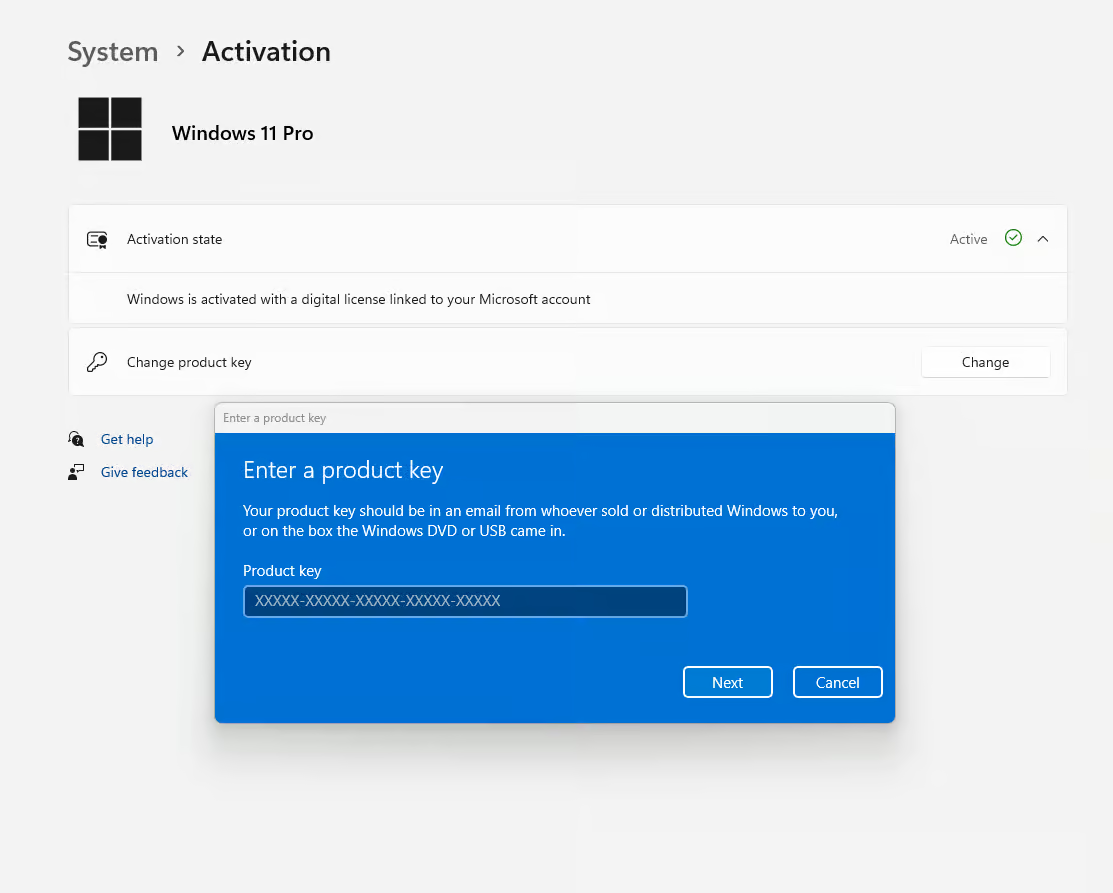
  1. Navigate back to Settings > System > Activation.
  2. Enter your Windows 11 Pro product key and click Activate.
  3. Once activated, restart your PC to finalize the process.

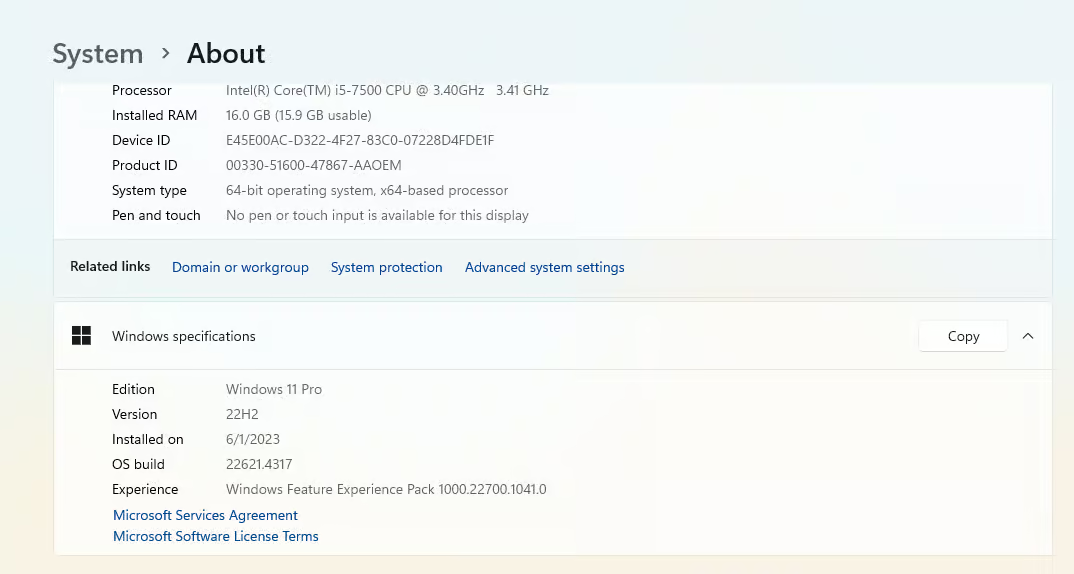
Your system is now successfully upgraded and activated to Windows Pro.

⚠️ Having Problems? Connect on our Live Chat

Still Don't Have a Windows Key?

Get your Windows Now

Leave a Reply

Your email address will not be published. Required fields are marked *