Blog
How to Use Windows Hello for Business in Windows 11 Pro

1. Check Hardware Requirements:
- For Facial Recognition (Windows Hello Face): Your device needs a compatible camera.
- For Fingerprint (Windows Hello Fingerprint): Your device needs a fingerprint reader.
- If you don’t have these: You can still use a PIN for sign-in.
2. Enable Windows Hello for Business (Admin Setup):
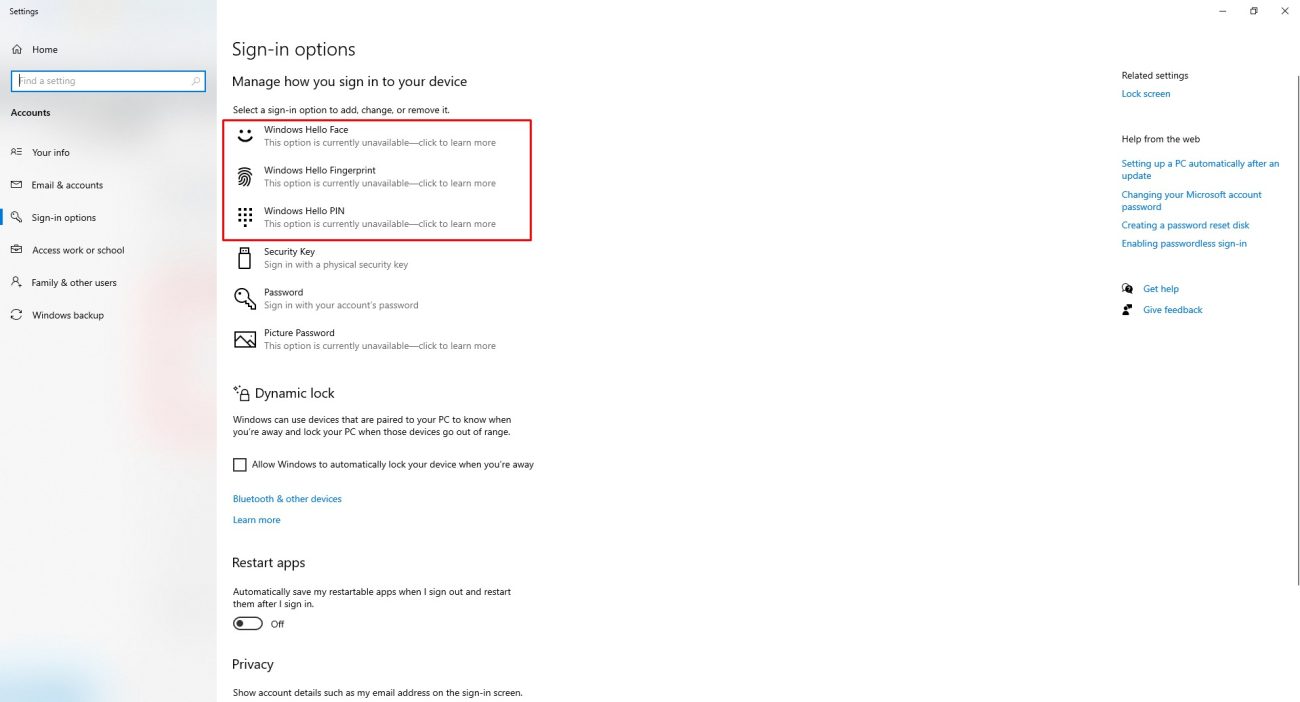
- Open Settings: Click the Start Menu, then select Settings.
- Go to Accounts: Navigate to Accounts > Sign-in options.
- Choose Your Sign-in Method: Under “Ways to sign in,” select either:
- Facial recognition (Windows Hello Face)
- Fingerprint recognition (Windows Hello Fingerprint)
- PIN
- Follow the Setup Steps:
- Select the sign-in method you want and click Set up.
- Follow the on-screen instructions to scan your face, fingerprint, or create a PIN.
3. Set Up Windows Hello for Business in a Domain (For Domain Users):
- Open Group Policy Editor:
- Press Win + R, type gpedit.msc, and press Enter.
- Navigate to Windows Hello Settings:
- Go to Computer Configuration > Administrative Templates > Windows Components > Windows Hello for Business.
- Enable Windows Hello for Business:
- Double-click Use Windows Hello for Business and select Enabled.
- Configure Other Policies:
- You can also set up PIN complexity, biometric controls, and other options based on your organization’s needs.
4. Sign In Using Windows Hello:
- The next time you sign in:
- Facial recognition or fingerprint scanning will quickly unlock your device.
- If you’re using a PIN, just enter it when prompted.
Unlock powerful features with a genuine Windows 11 Pro key – get the best deal at the lowest price today!