Blog
How to Use Track Changes in Microsoft Word: A Simple Guide

Track Changes is a powerful feature in Microsoft Word that allows users to review, edit, and collaborate on documents efficiently. Whether you’re working on a business report, academic paper, or legal document, this tool helps you keep track of modifications, suggest edits, and maintain version control.
With Track Changes, you can see who made specific edits, accept or reject revisions, and add comments for better collaboration. It’s an essential feature for teams, editors, and writers who need to ensure clarity and accuracy in their documents.
Enable Track Changes
- Open your Word document.
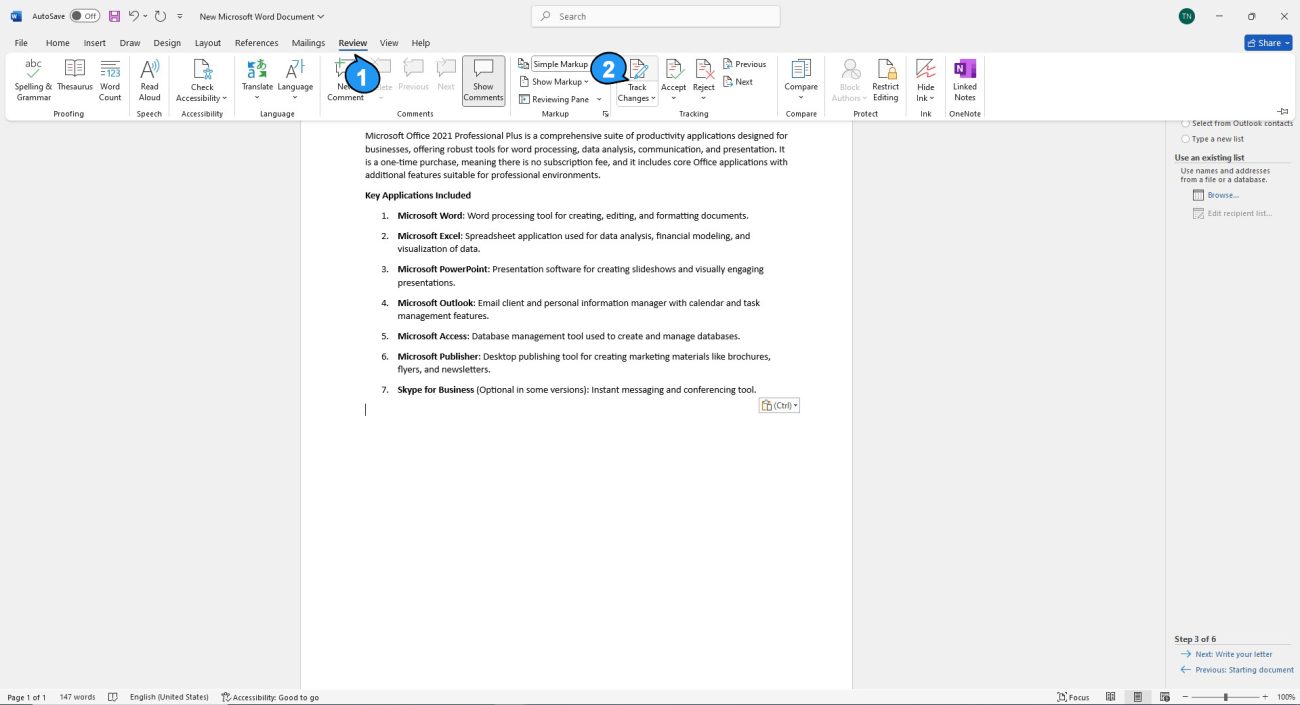
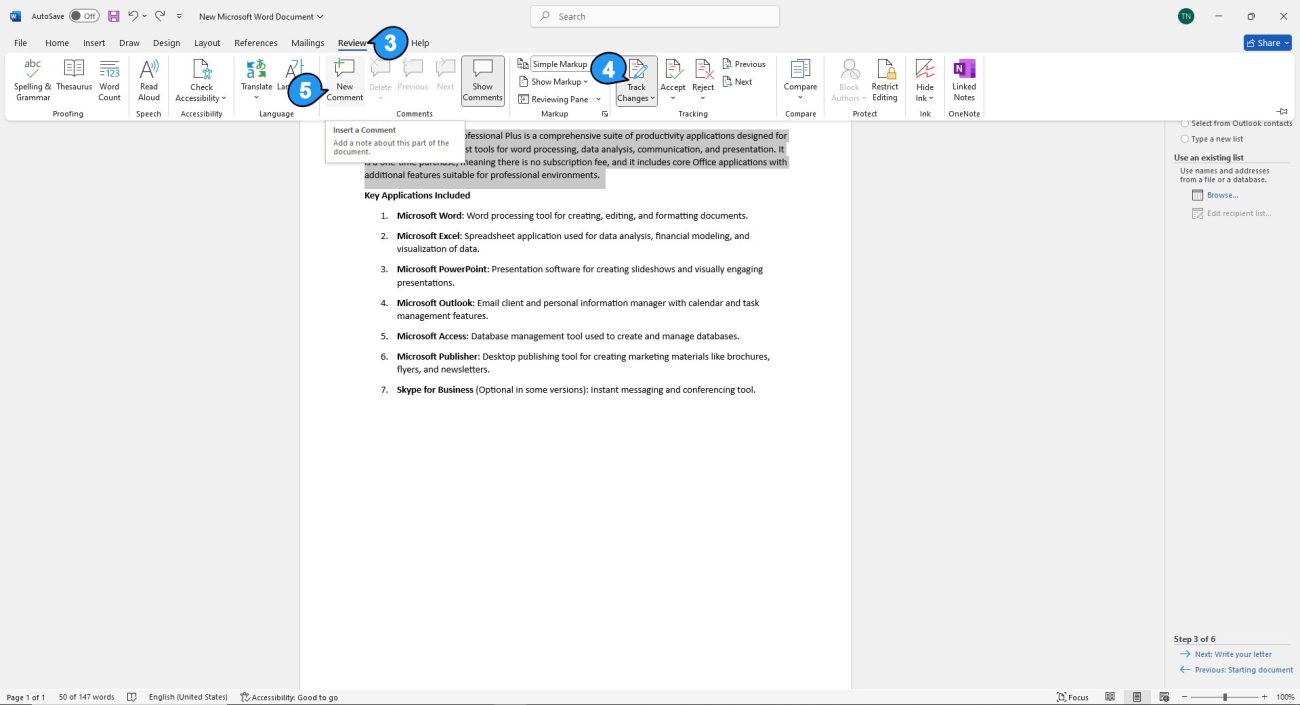
- Go to the Review tab at the top of the screen.
- In the Tracking section, click on Track Changes to turn on the feature.
- Once enabled, Word will begin to track any changes you make, highlighting them for easy identification.

Set Tracking Preferences
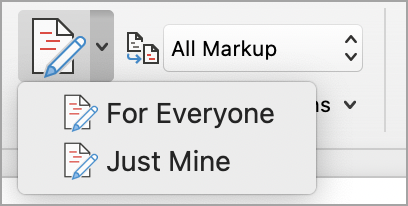
- Click the small arrow next to the Track Changes button to open additional options.
- Select Change Tracking Options to customize how changes are displayed.
- Markup: Choose how changes (insertions, deletions, and formatting) appear in the document (e.g., with colored text, in balloons, or inline).
- Balloons: Decide if changes should appear in the margins as balloons.
- Formatting: Control how changes to formatting (like font or paragraph style) are tracked.
- Once you’re happy with your settings, click OK to save.
Make Edits
- Now, as you make changes to the document, Word will track them:
- Insertions: Any text you add will appear underlined or in a different color.
- Deletions: Text you remove will have a strikethrough.
- Formatting Changes: Changes in font size, style, or other formatting will be highlighted.
- Comments: You can add comments by selecting text and clicking New Comment in the Comments section of the Review tab.
- Each change will show who made it and when.
View Tracked Changes
- Simple Markup: Shows the final version of the document with a red line in the margin to indicate changes.
- All Markup: Displays all changes—insertions, deletions, and comments—in the document.
- No Markup: Hides all tracked changes, showing only the final version.
- Original: Shows the original version of the document before any changes.
- Choose your preferred view under the Tracking section in the Review tab.
Accept or Reject Changes
Once you’ve reviewed the changes, you can either accept or reject them:
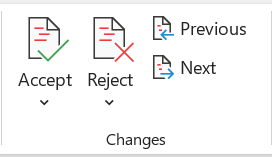
- Go to the Review tab and look for the Changes section.
- Use the Accept or Reject buttons to apply or remove individual changes.
- You can also click Accept All or Reject All to apply or remove all changes at once.
Turn Off Track Changes
When you’re finished tracking changes, turn off the feature:
- Go back to the Review tab and click Track Changes again to disable it.
Note: Turning off Track Changes doesn’t delete previously tracked changes. You still need to accept or reject them before finalizing the document.
Save the Document
After finishing your edits, save the document. If you’re sharing it, save it as a new file or keep it in its current format so that tracked changes are preserved for others to review.
Best Price onOffice keys– Buy Now and Save!