Blog
How to Create Borders for PowerPoint Slides

Want to make your PowerPoint slides stand out? Learn how to easily add custom borders with our step-by-step instructions.
Step 1: Select Your Slide
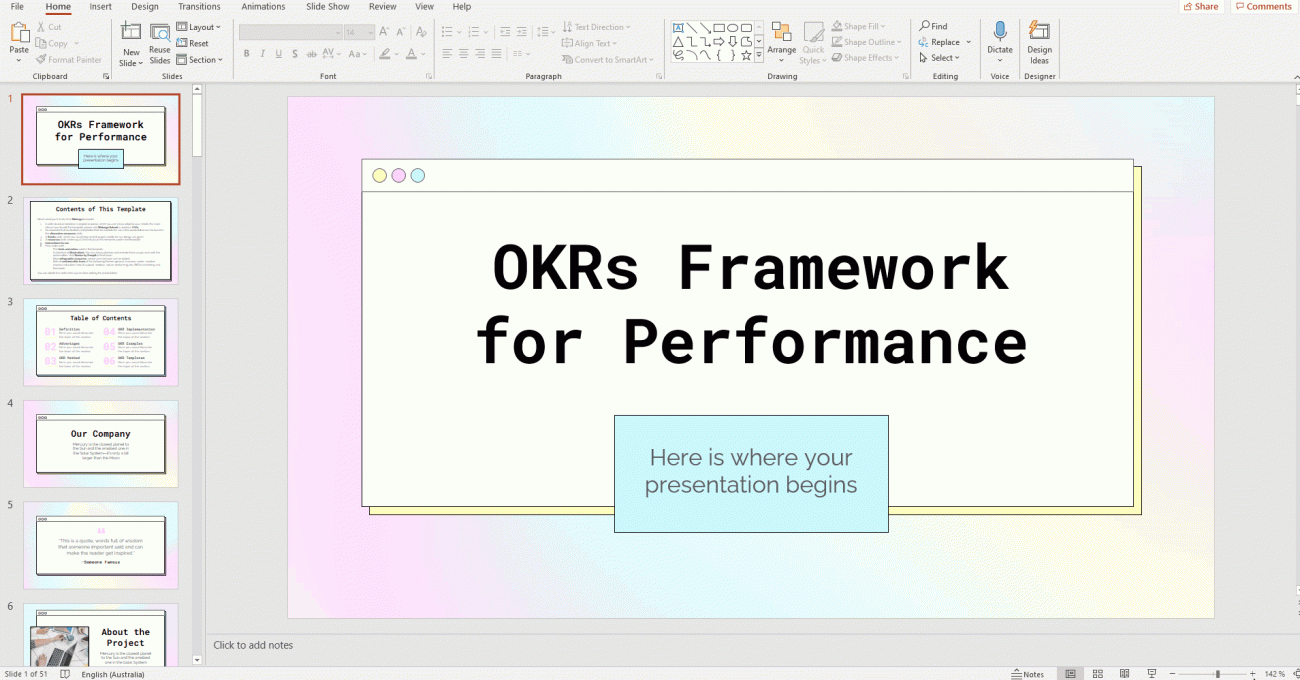
First, choose the slide where you want to add a border. This could be any individual slide, but you can also choose to add a border to multiple slides or even the entire presentation if needed.
Tip: If you’re applying borders to all slides, you may want to edit the Slide Master to apply the design universally. This ensures consistency throughout your presentation.
Step 2: Insert a Shape to Create a Border
- Navigate to the Insert Tab: Click on the Insert tab located at the top of the screen.
- Select Shapes: In the Insert tab, click on Shapes, and choose the shape that will serve as your border. Common choices include rectangles, squares, or rounded shapes, depending on your design preference.
- Resize the Shape: Once you’ve inserted the shape, you may need to adjust its size and position to cover the desired area on your slide. You can resize the shape by dragging the corners or edges to fit your slide’s dimensions.
Step 3: Customize Your Border
- Format the Shape: Click on the shape you inserted to reveal the Shape Format tab in the top menu.
- Shape Outline: Under Shape Outline, you can customize the thickness, style, and color of your border. Select a color that complements your slide’s design.
- Apply Shape Effects: For additional customization, use the Shape Effects button to add enhancements such as shadow, glow, or 3D effects. This can help your border stand out and add a more professional look to your presentation.
Step 4: Make the Shape Transparent (Optional)
If you want the border to appear without any fill (just an outline), follow these steps:
- Select the Shape: Click on the shape you created for the border.
- Remove the Fill: Go to Shape Format > Shape Fill, and select No Fill. This removes the fill color and leaves only the outline visible, creating a clean and simple border effect around your slide.
Step 5: Copy the Border to Other Slides (Optional)
Once you’ve created the perfect border for your slide, you may want to use the same border on other slides. Here’s how:
- Copy the Border: Select the shape you just created, right-click, and choose Copy.
- Paste onto Other Slides: Go to each slide where you want to apply the border and press Ctrl + V (or Cmd + V on Mac) to paste the border.
- Resize and Adjust: If needed, resize and reposition the border on each slide.
Adding Borders to Pictures in PowerPoint
You can also add borders to images in your PowerPoint presentation for a more polished look. Here’s how:
- Method 1: Choose from pre-made styles under Picture Format.
- Method 2: Create a custom border by selecting Picture Border and adjusting the color and thickness.
For more information about design tips and PowerPoint features, you can visit the Microsoft PowerPoint Support page.
Save More onOffice 2021 Pro Plus– Your Genuine Key Awaits!