Blog
How to Check Available Disk Space on Windows 10

Monitoring your available disk space is essential for maintaining your computer’s performance and preventing storage issues. If your disk space is running low, your system may slow down, programs might not function properly, and updates could fail to install.
Windows 10 provides several built-in tools to check disk space quickly and efficiently. Whether you prefer using File Explorer, Settings, or Command Prompt, this guide will walk you through multiple methods to view your storage details.
It can feel like you’re always running out of space on your computer. Every app you install takes up more room, and before you know it, you might run low on storage. Here’s an easy way to check how much space you have left.
Check Your Free Space with File Explorer
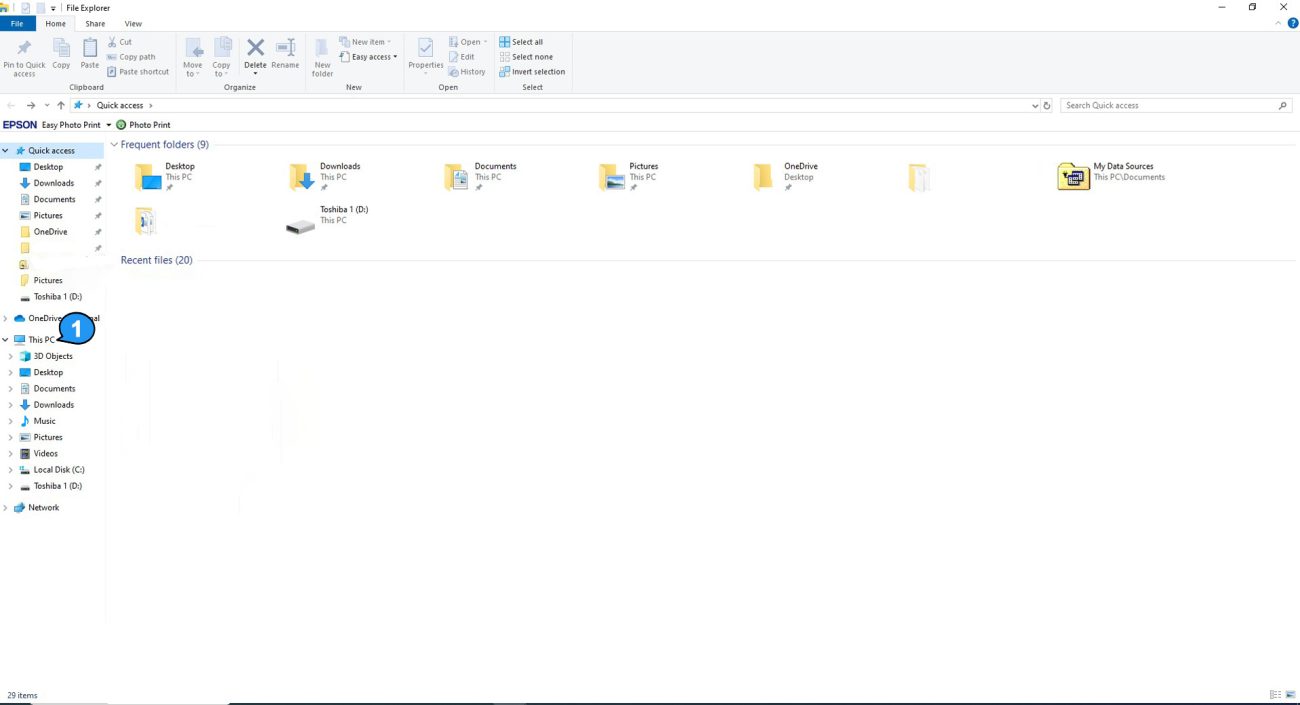
Start by opening File Explorer. The quickest way is to press Windows + E on your keyboard. You can also click the folder icon on your taskbar (if it’s pinned there) or find it in the Start menu.
Generally, Windows requires a few gigabytes of free space to run smoothly. This space is used for tasks like caching important programs and managing virtual memory, which helps speed up the system.
Check Free Space in the Settings App
To check your available storage through the Settings app, follow these steps:
- Open the Settings app.
- Go to System > Storage.
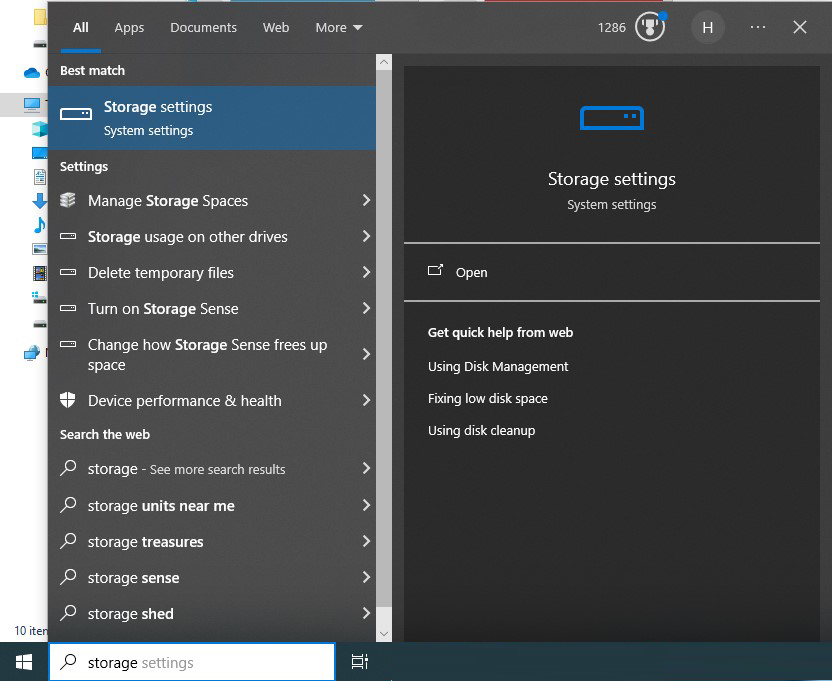
- Alternatively, you can search for “Storage” in the Start menu or taskbar search bar and select Storage Settings from the results.
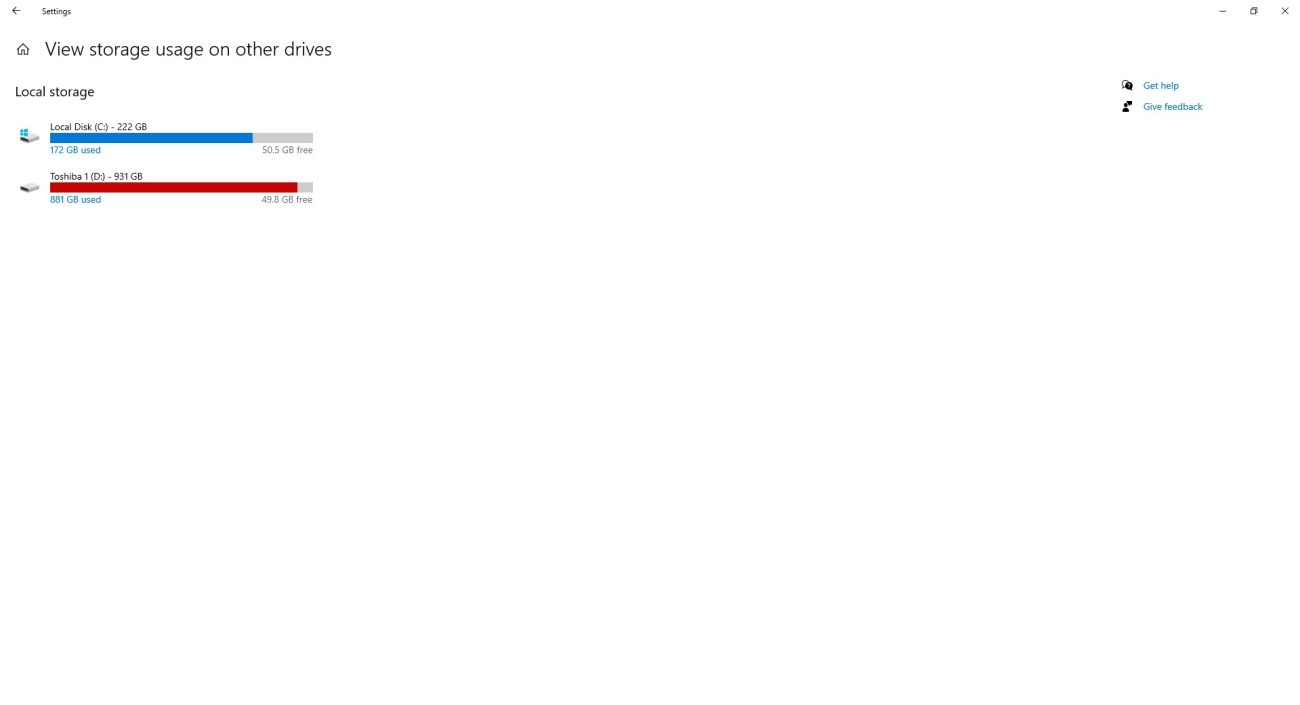
Scroll down a bit in the Storage window and click “View Storage on Other Drives” under More Storage Settings.
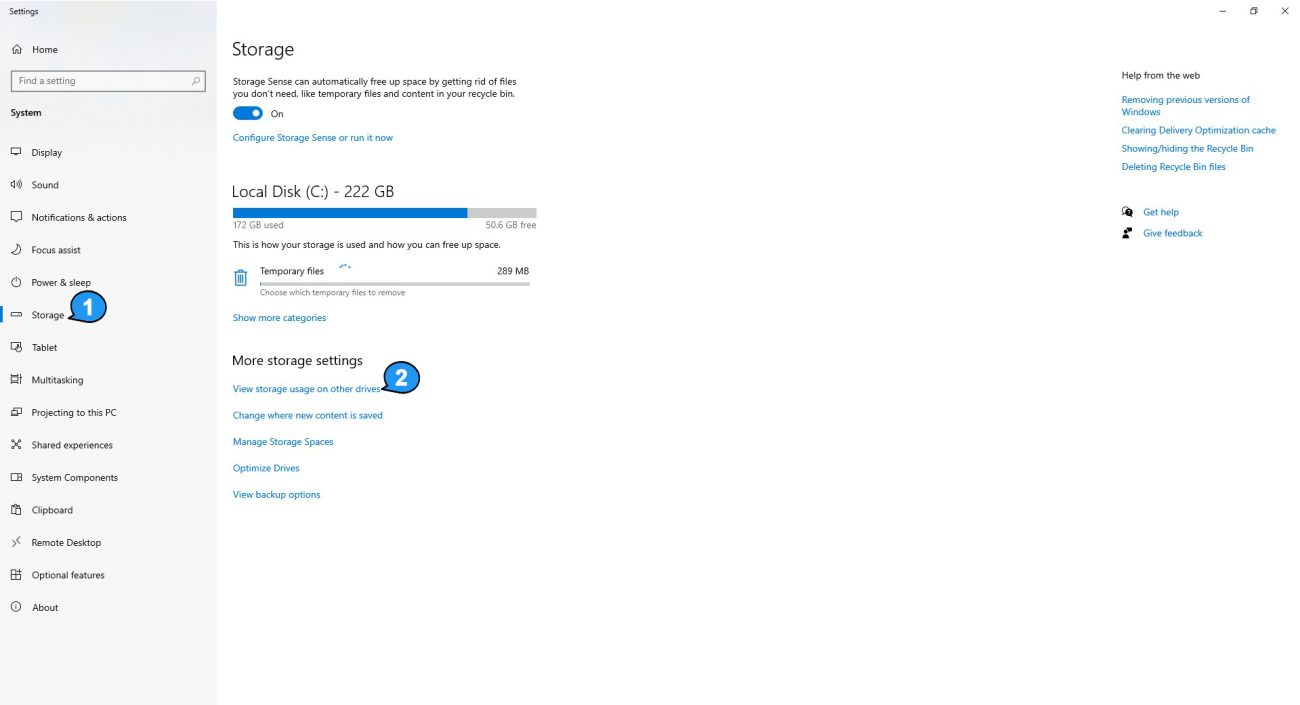
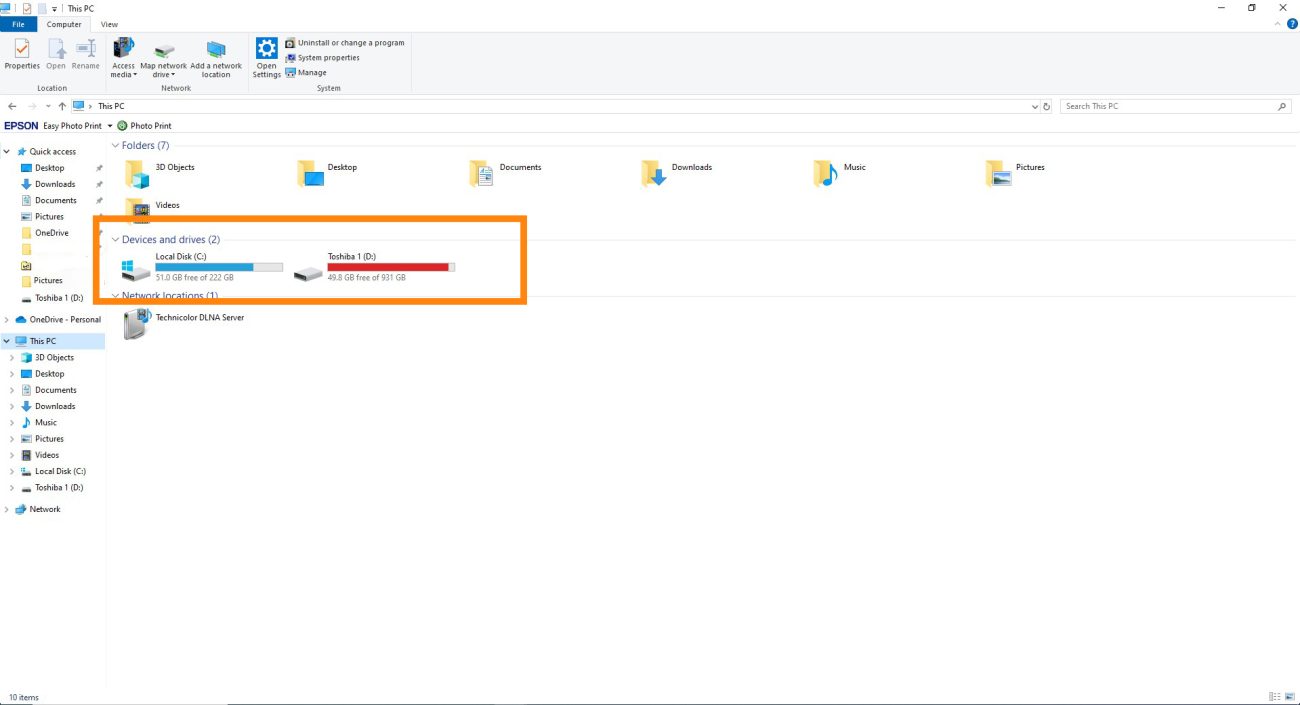
You’ll see a list of all storage devices connected to your PC, including both internal and external drives.
If you’re running low on storage, try freeing up space by uninstalling programs you no longer need. Windows 10 also has a useful “Free Up Space” tool that can help you clean up your hard drive.
Unlock powerful features with a genuine Windows 10 Pro Key – get the best deal at the lowest price today!