Blog
How to Add Checkboxes in Word (Step-by-Step)

Want to create a checklist in Word? In this guide, you’ll learn how to add checkboxes for both printable checklists and interactive digital forms; consequently, this will allow you to choose the best option for your needs.
Adding checkboxes in Microsoft Word is a great way to create interactive to-do lists, forms, or surveys. Regardless of whether you need a printable checklist or an interactive document, this guide will, therefore, walk you through both methods; consequently, ensuring that you find the right solution. Additionally, you will discover useful tips along the way.
✅ Adding checkboxes for printed documents
✅ Adding interactive checkboxes for digital use
By the end of this guide, you will be able to choose the method that works best for your specific needs.
Method 1: Adding Checkboxes for Printable Documents
If you are creating a checklist that will be printed and filled out manually, you can easily add checkboxes using symbol-based checkboxes. This method is quick, simple, and perfect for tasks like creating to-do lists or organizing printed forms, ensuring efficiency and ease in your workflow.
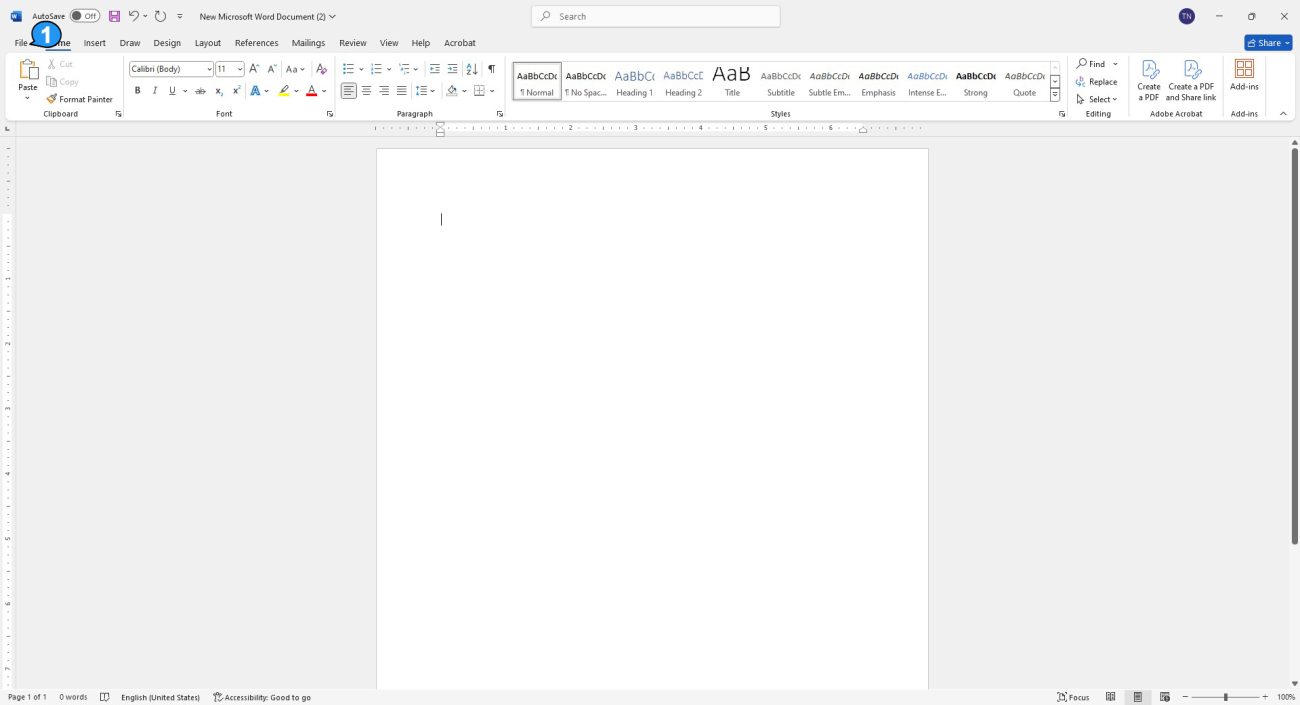
Step 1: Open Your Document
First, open Microsoft Word; then, either create a new document or, alternatively, open an existing one. Next your document is ready, you can then proceed with the following steps.
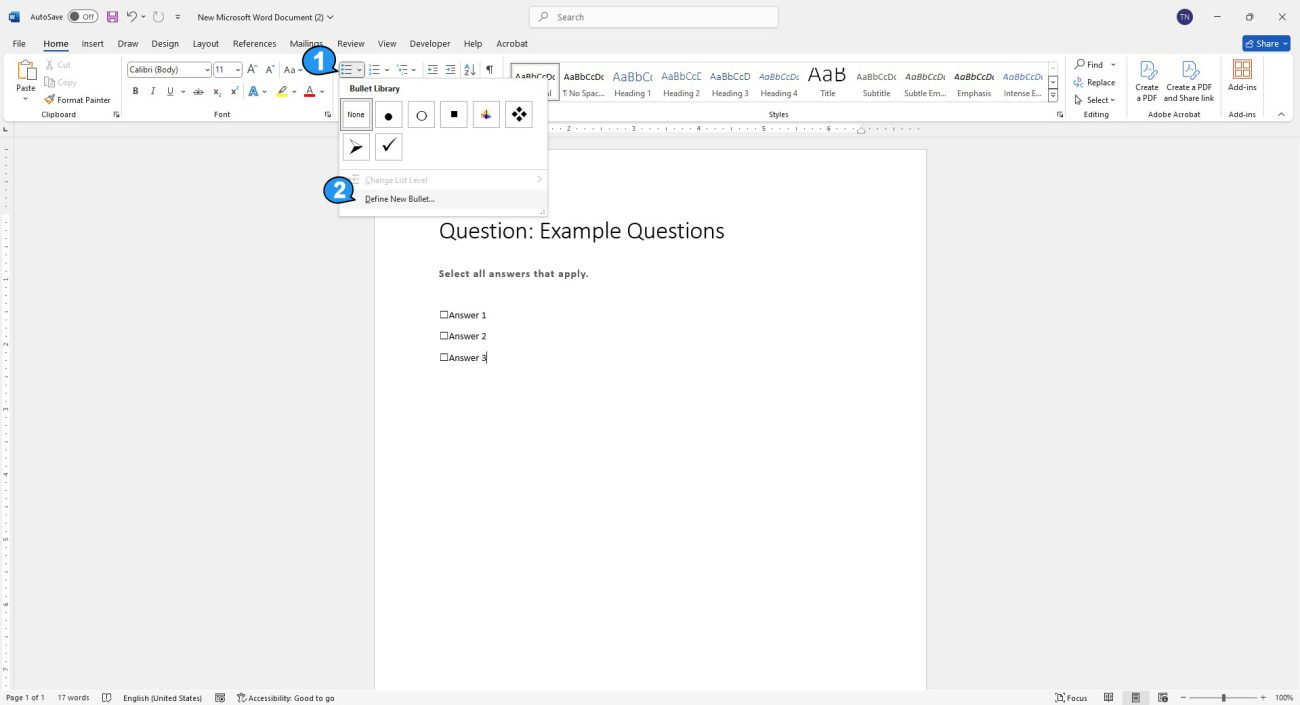
Step 2: Enable the Bullets Feature
Place your cursor where you want the checkbox to appear and follow these simple steps:
- Go to the Home tab on the ribbon.
- Click the Bullets dropdown arrow in the Paragraph group.
- Select Define New Bullet.
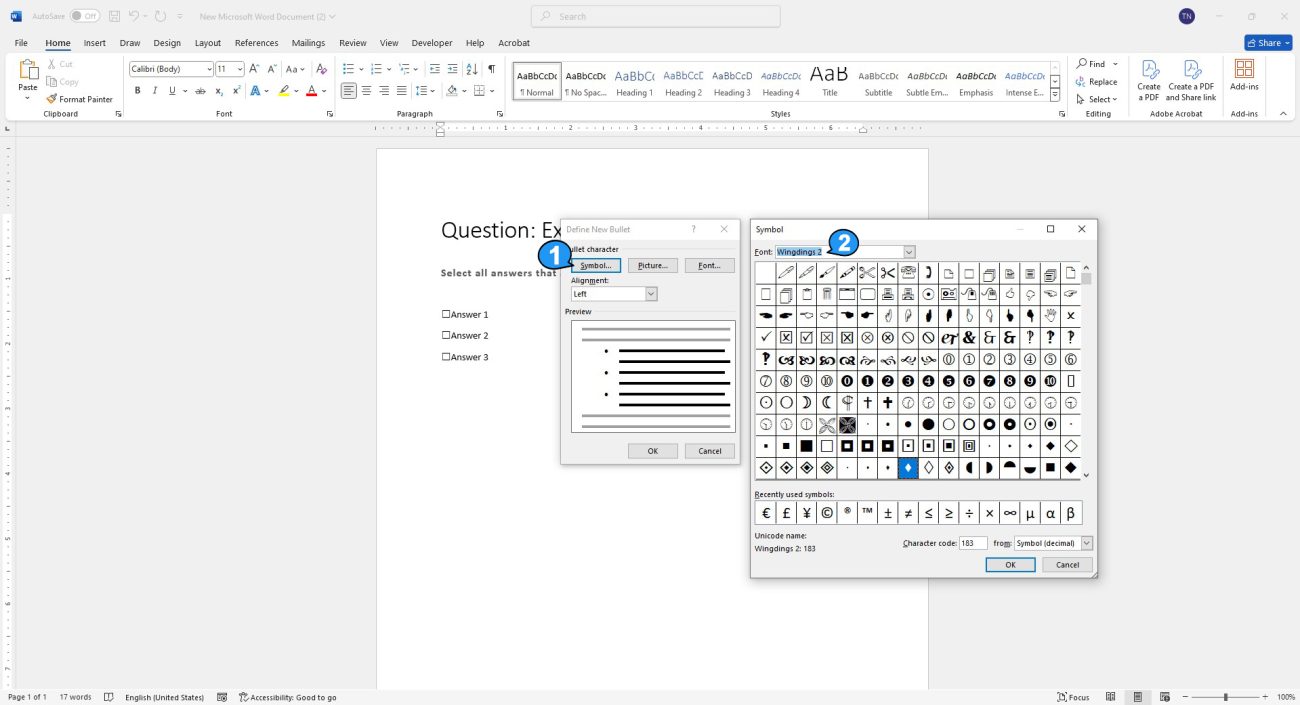
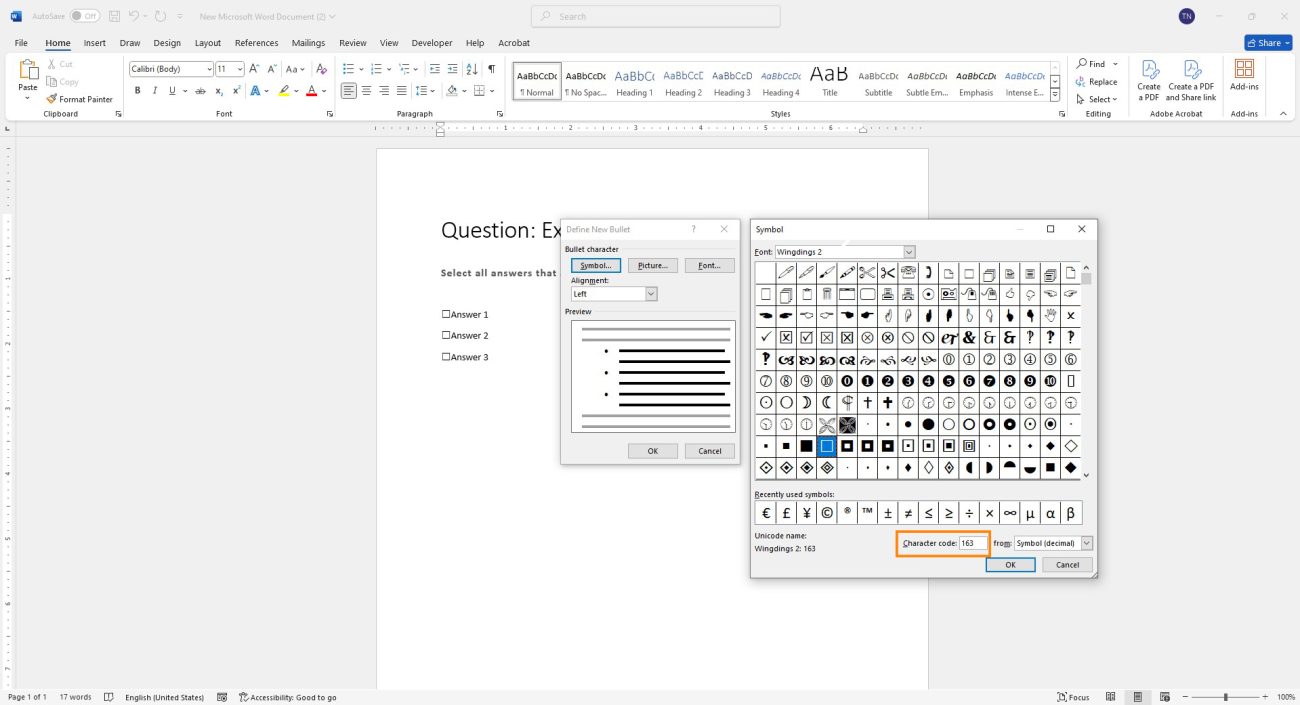
Step 3: Choose a Checkbox Symbol
After enabling the bullet feature, you’ll need to select a checkbox symbol. Here’s how to do it:
- Click Symbol.
- In the Font dropdown, choose Wingdings or Wingdings 2.
- Scroll through the symbols and select the checkbox symbol (☐).
- Finally, click OK to insert the symbol; thereafter, click OK again to apply it.
💡 Pro Tip: Once the first checkbox is inserted, simply press Enter to insert more checkboxes in a list format. This allows you to create long checklists quickly without extra effort.
Method 2: Adding Interactive Checkboxes for Digital Use
For clickable checkboxes in digital documents, you will need to use Microsoft Word’s Developer tools. Though this process might seem complex, in fact, it is actually quite easy once you enable the Developer tab.
Step 1: Enable the Developer Tab
By default, the Developer tab is hidden. Therefore, you need to enable it first. To do so, follow these steps:
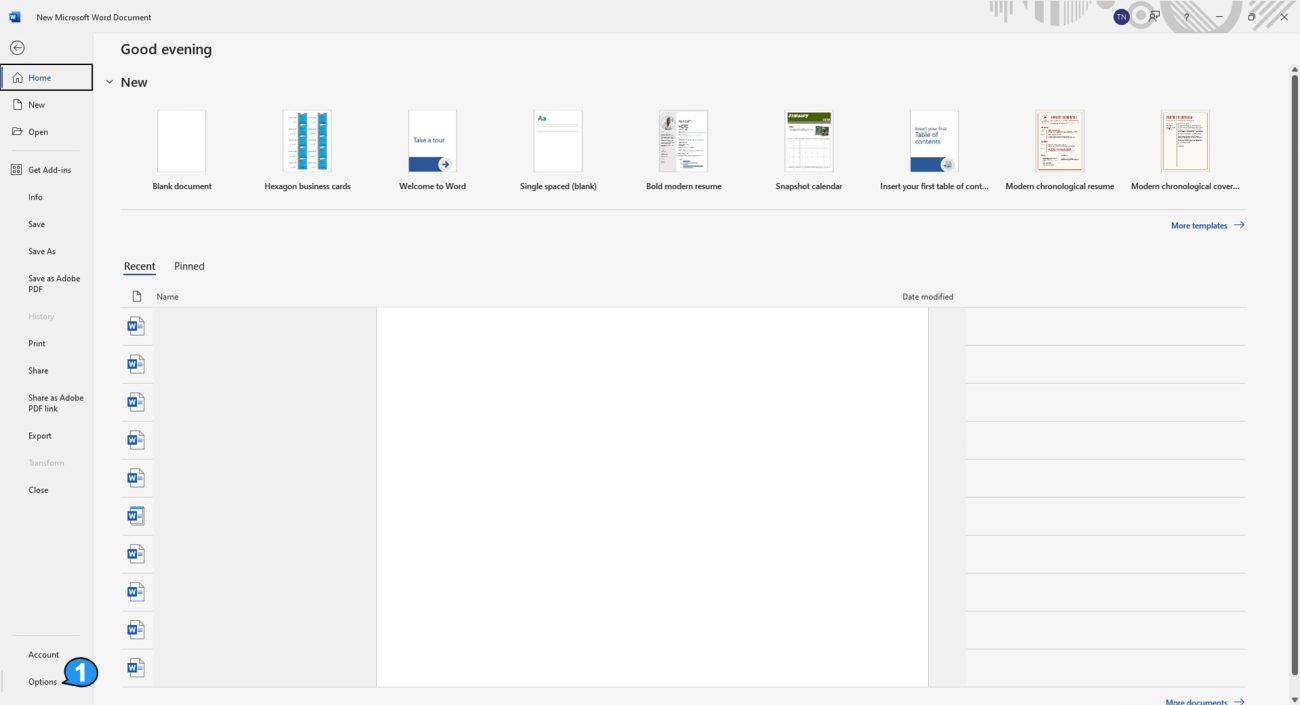
- Open Word and click File > Options.
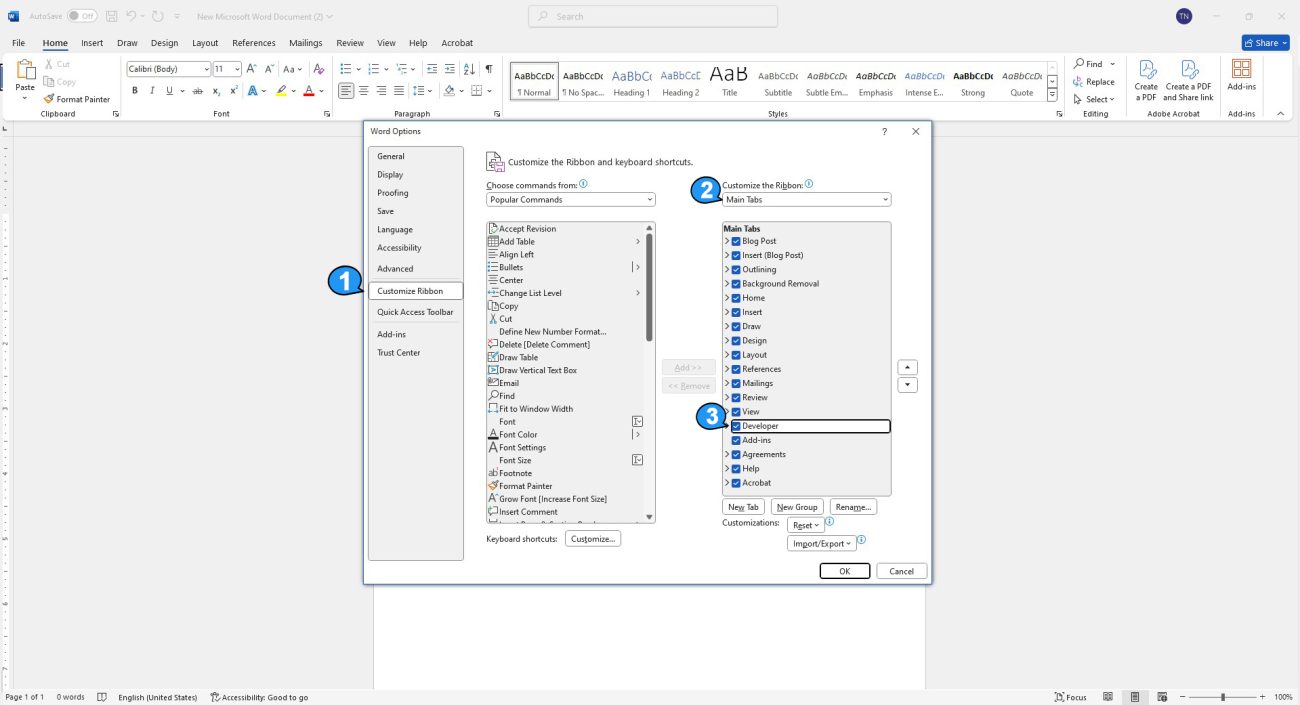
- In the Word Options window, select Customize Ribbon.
- Under Main Tabs, check the box for Developer.
- Once you’ve done this, then click OK to save your changes.
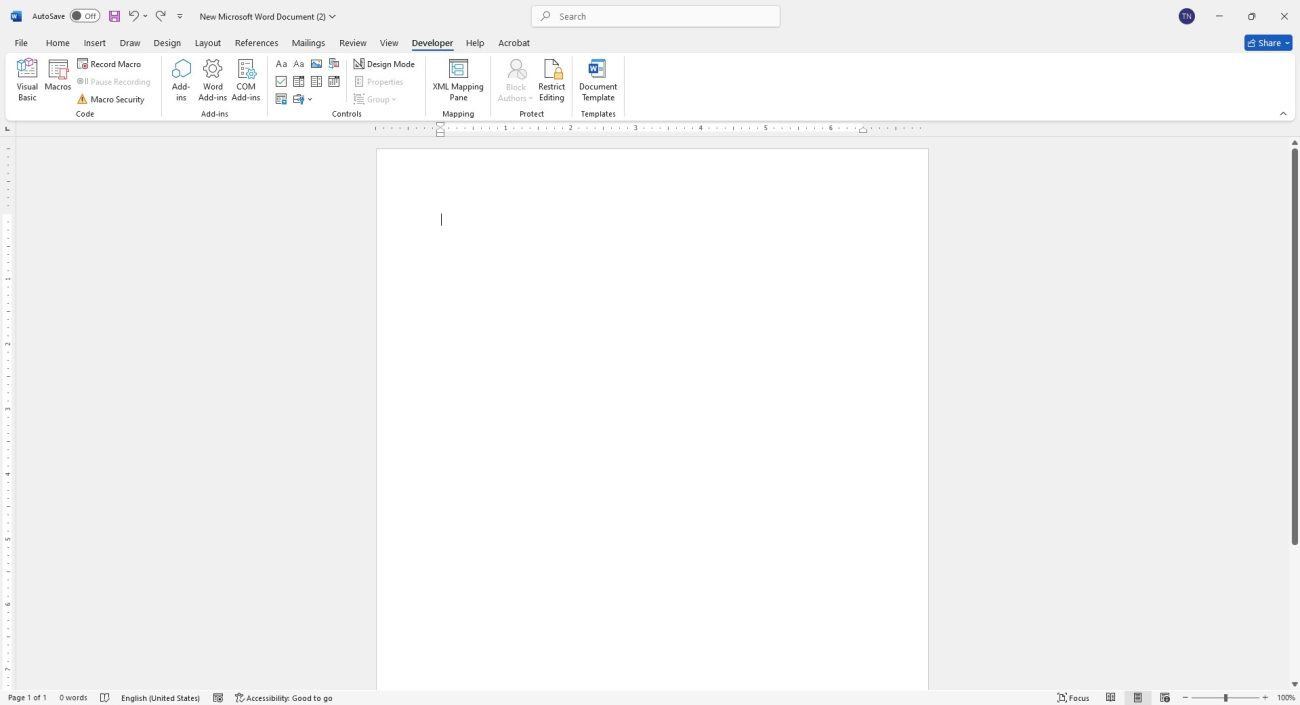
The Developer tab will now appear on the ribbon, and you’ll be ready to insert interactive checkboxes.
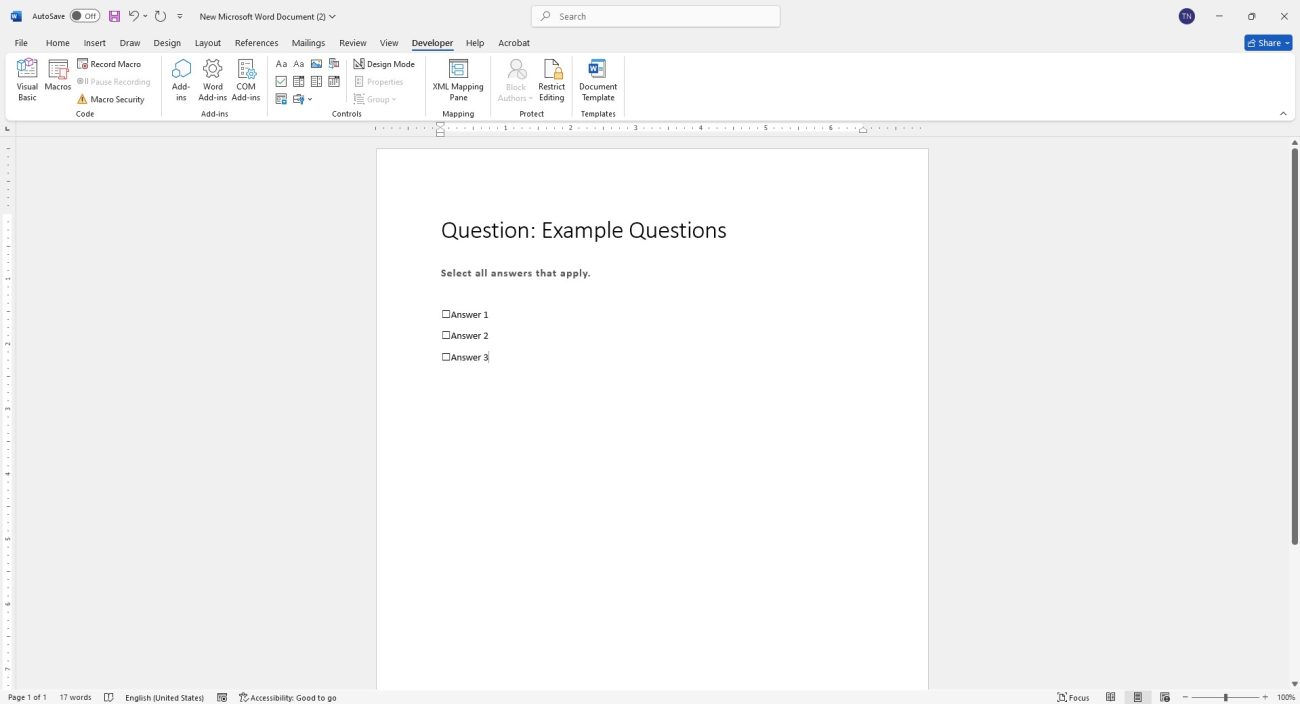
Step 2: Insert a Checkbox
Now that the Developer tab is enabled, it’s time to insert the checkbox. Follow these steps:
- Place the cursor where you want the checkbox to appear.
- Go to the Developer tab and click Check Box Content Control in the Controls group.
- A clickable checkbox will appear. You can now click it to check or uncheck the box.
Step 3: Customize the Checkbox (Optional)
If you would like to change the appearance of the checkbox, follow these steps:
- Click on the checkbox.
- Then, click Properties in the Developer tab.
- Under the Checked Symbol section, click Change to select a custom icon for the checkbox.
- Finally, click OK to apply the change.
These customization options allow you to personalize the checkboxes according to your needs.