Blog
Guide to Adding, Editing, and Removing Tab Stops in Microsoft Word

Guide to Adding, Editing, and Removing Tab Stops in Microsoft Word
Tab stops in Microsoft Word make it simple to move your cursor to specific spots, making tasks like creating indents or aligning text easier. This guide will show you how to add, edit, and remove tab stops in Word.
There are two main ways to manage tab stops: using the tab settings or the ruler. Both methods are convenient and give you flexibility based on your preference. Keep in mind that any tab stop changes you make apply only to the document you’re currently working on.
Adding Tab Stops in Word
By default, pressing the Tab key moves the cursor 0.5 inches. However, you can customize this by adding tab stops exactly where you need them, either through the settings menu or directly on the ruler.
Adding Tab Stops via Settings
- Navigate to the Home tab in the toolbar.
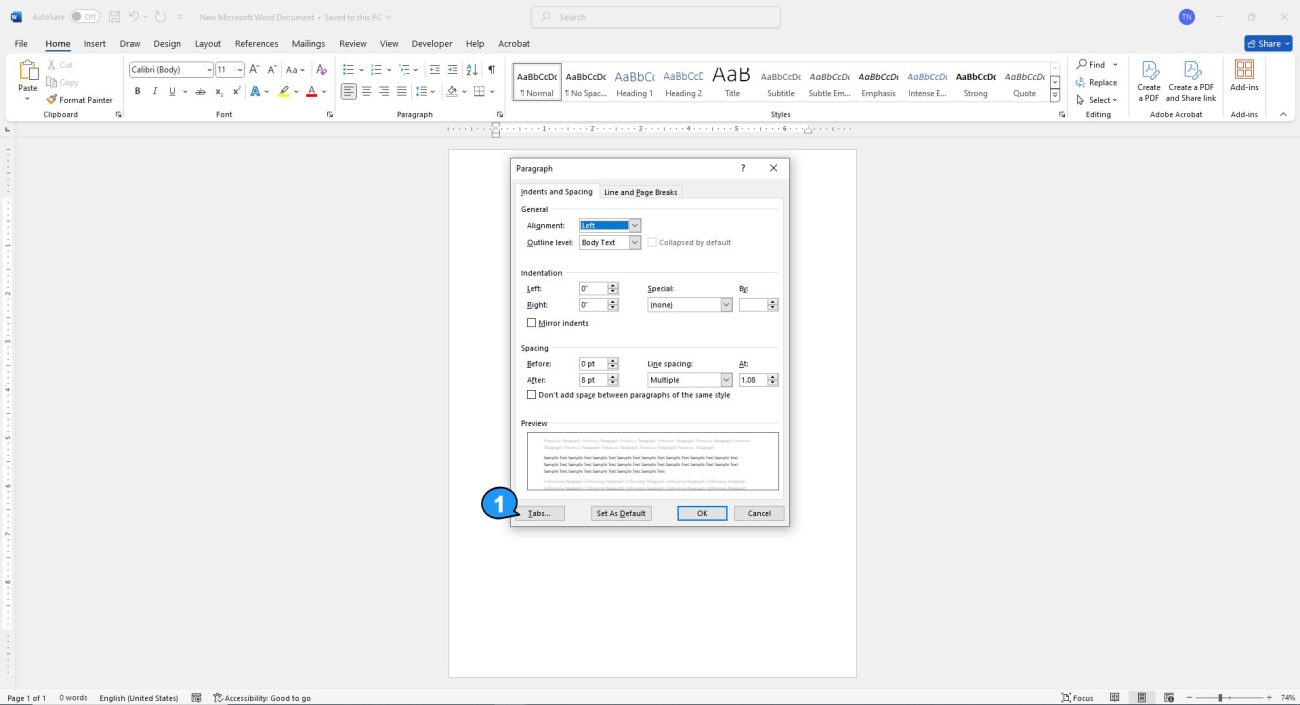
- Click the small arrow in the Paragraph section to open the Paragraph settings window.
- In the settings window, select the “Tabs…” button located at the bottom left.
This opens the tab settings, where you can add, modify, or delete tab stops to suit your needs.
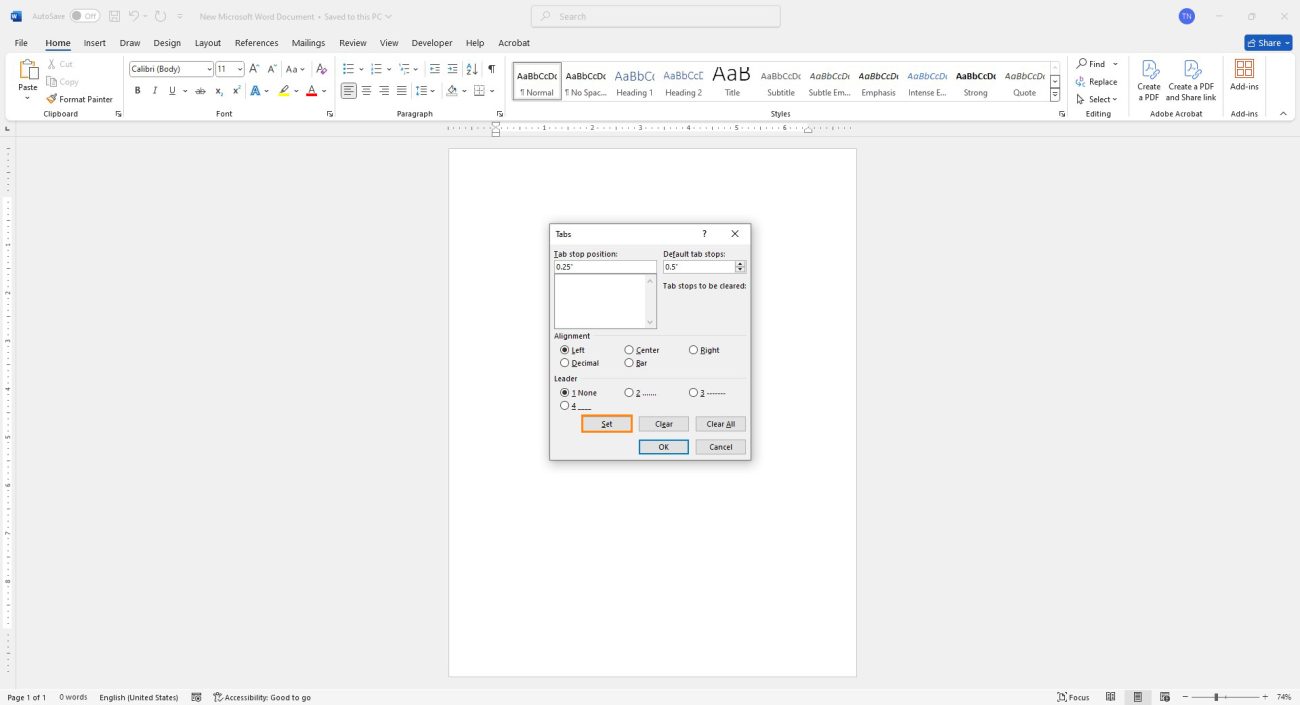
Type the desired tab stop position into the Tab Stop Position box at the top. If needed, select an Alignment option and choose a Leader style. Click Set to add the tab stop to the list, then press OK when you’re done making changes.
Adding Tab Stops Using the Ruler
If your cursor is already positioned in your document where you want a tab stop, using the ruler is a quick and convenient option.
- Select the Tab Stop Type: Click the tab selector button located at the left end of the ruler. Each click cycles through the available tab stop types, such as left, right, center, and others.
- Set the Tab Stop: Once you’ve selected the desired tab type, click directly on the ruler at the position where you want the tab stop to appear.
This method is perfect for adding tab stops on the fly while working in your document.
When you reach the one you want, click the ruler. You’ll then see this tab stop added in the spot you picked.
Editing Tab Stops in Word
You can edit an existing tab stop using either the settings menu or the ruler, depending on your preference.
Editing Tab Stops via Settings
- Open the tab settings by clicking the small arrow in the Paragraph section of the ribbon, then select the “Tabs…” button.
- In the list of tab stops, choose the one you want to modify.
- Make your changes:
- Adjust the Alignment or choose a new Leader style.
- If you change the position, note that this will create a new tab stop instead of modifying the current one.
- Click Set to save the changes and OK to close the settings when you’re done.
Editing Tab Stops Using the Ruler
If you’ve added a tab stop using the ruler, you can easily adjust it:
- Move the Tab Stop: Click and drag the tab stop to its new position on the ruler.
- Change the Tab Stop Type: Double-click the tab stop on the ruler to open the tab settings. From there, you can adjust the alignment, change the leader, or modify the tab stop type. Click Set to save your changes and OK to close the settings.
Removing Tab Stops in WordYou can remove individual tab stops or clear all of them, either through the settings or the ruler.
Removing Tab Stops via Settings
- Open the tab settings by clicking the small arrow in the Paragraph section of the ribbon and selecting the “Tabs…” button.
- To delete a specific tab stop, select it in the list and click Clear.
- To remove all tab stops, click Clear All.
- Click OK to confirm and exit.
Removing Tab Stops Using the Ruler
- Locate the tab stop on the ruler.
- Click and drag it down off the ruler to delete it.
Changing the Default Tab Stop
If you’d like to adjust the default tab stop spacing from 0.5 inches to a different value:
- Open the tab settings as described earlier.
- In the Default Tab Stops box, type a new value or use the arrows to adjust it incrementally.
- Click OK to save the changes.
Tab stops are an incredibly useful tool for organizing your Word documents. With these steps, you can now add, edit, or remove them to suit your specific needs!