Blog
Step-by-Step Guide: How to Compress Images in Microsoft Word

Large images in Microsoft Word documents can increase file size, making it difficult to share, save, or email them efficiently. To optimize your document’s performance while maintaining image quality, Word provides built-in tools to compress images and reduce file size.
This guide will walk you through step-by-step instructions on how to compress images in Word, adjust resolution settings, and choose the best compression options for your needs. You’ll also learn how to balance image quality and file size for the best results.
Compress Images in Word on Windows
On a Windows machine, open the Microsoft Word document that contains the images you want to compress, and then select a photo.
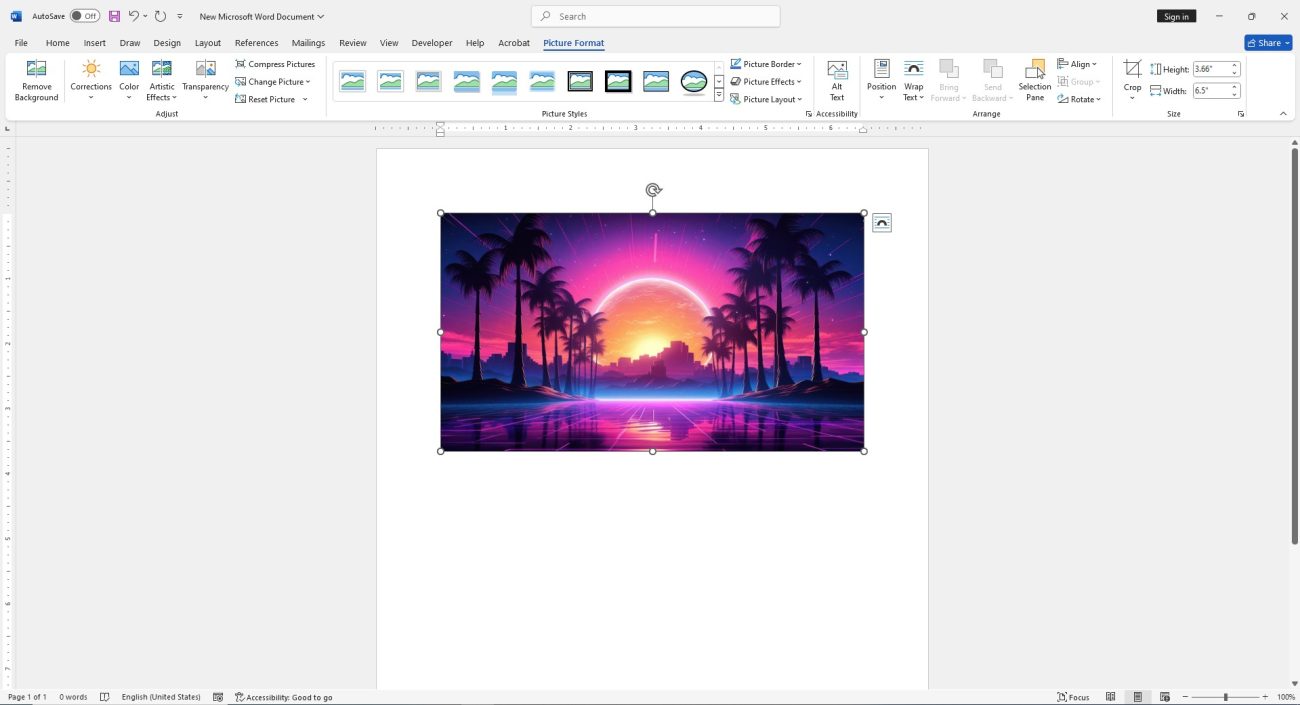
Navigate to the “Picture Format” tab. In the “Adjust” group, click “Compress Pictures.”
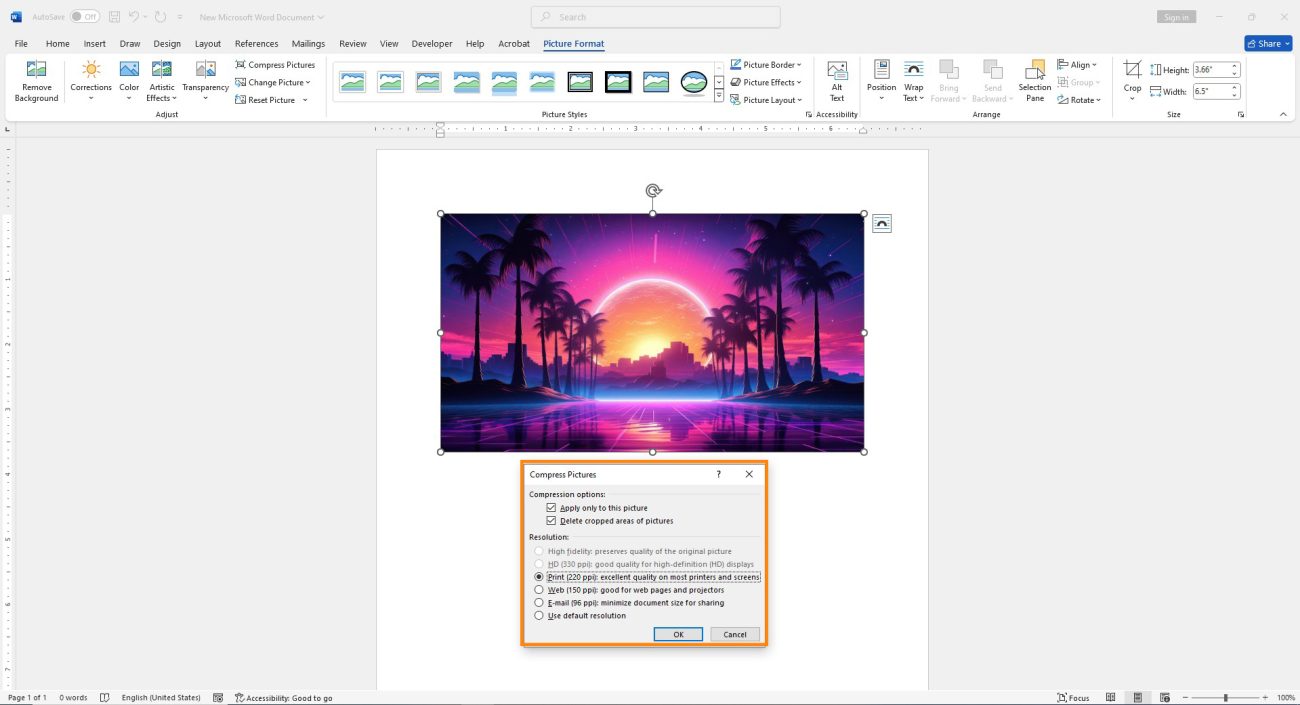
In the window that appears, you can choose to apply the compression to the selected image only by checking the “Compression Options” box.
If you uncheck this option, Word will compress all the images in the document.
Get the cheapest Office deal. Buy now and activate right away!