Blog
How to Add Fonts in Microsoft Word: Simple Guide

Adding custom fonts to Microsoft Word can significantly enhance the look and feel of your documents. Whether you’re working on a professional report, creative project, or personal document, using unique fonts can elevate your design. In this guide, we will walk you through the process of adding and installing fonts in Word.
Step 1: Choose a Font Source
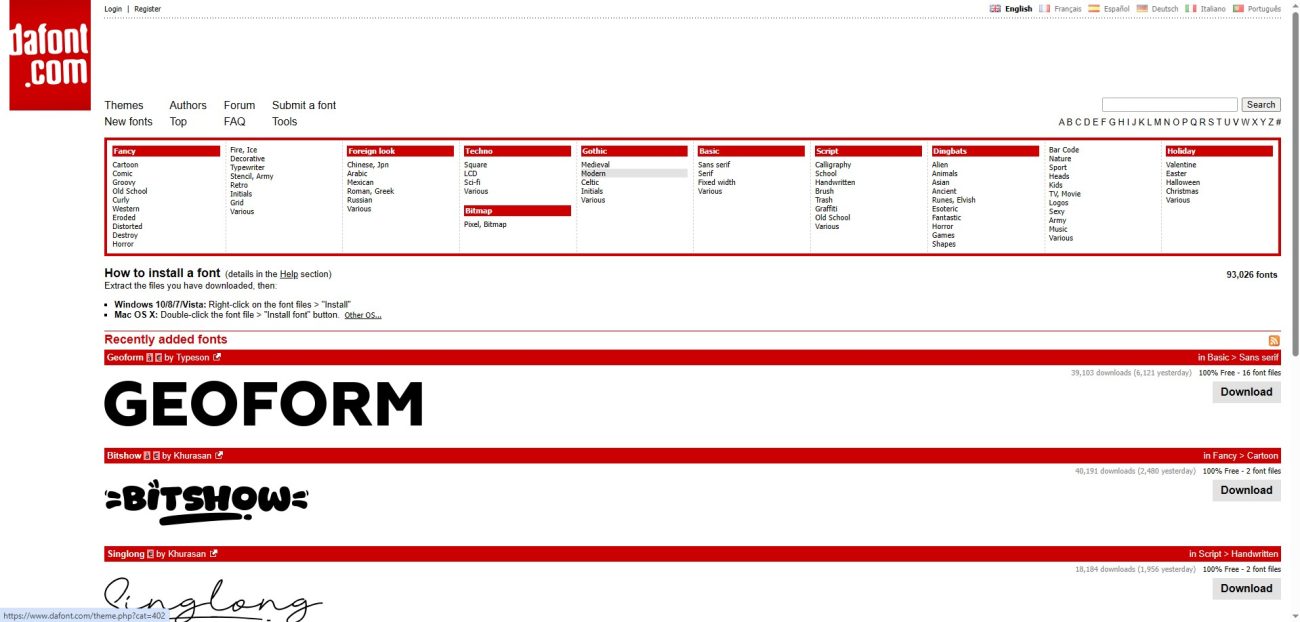
First, you’ll need to find a reliable source for new fonts. You can browse font websites like Google Fonts, Font Squirrel, or DaFont. Once you’ve selected a font, ensure that it is compatible with Microsoft Word (most fonts in TrueType (.ttf) or OpenType (.otf) format will work).
Step 2: Download the Font
After selecting your font, download it to your computer. Generally, fonts are packaged in a compressed folder, so you may need to extract the files. To do this, right-click the downloaded folder and select Extract All. Once extracted, locate the font file.
Step 3: Install the Font on Your System
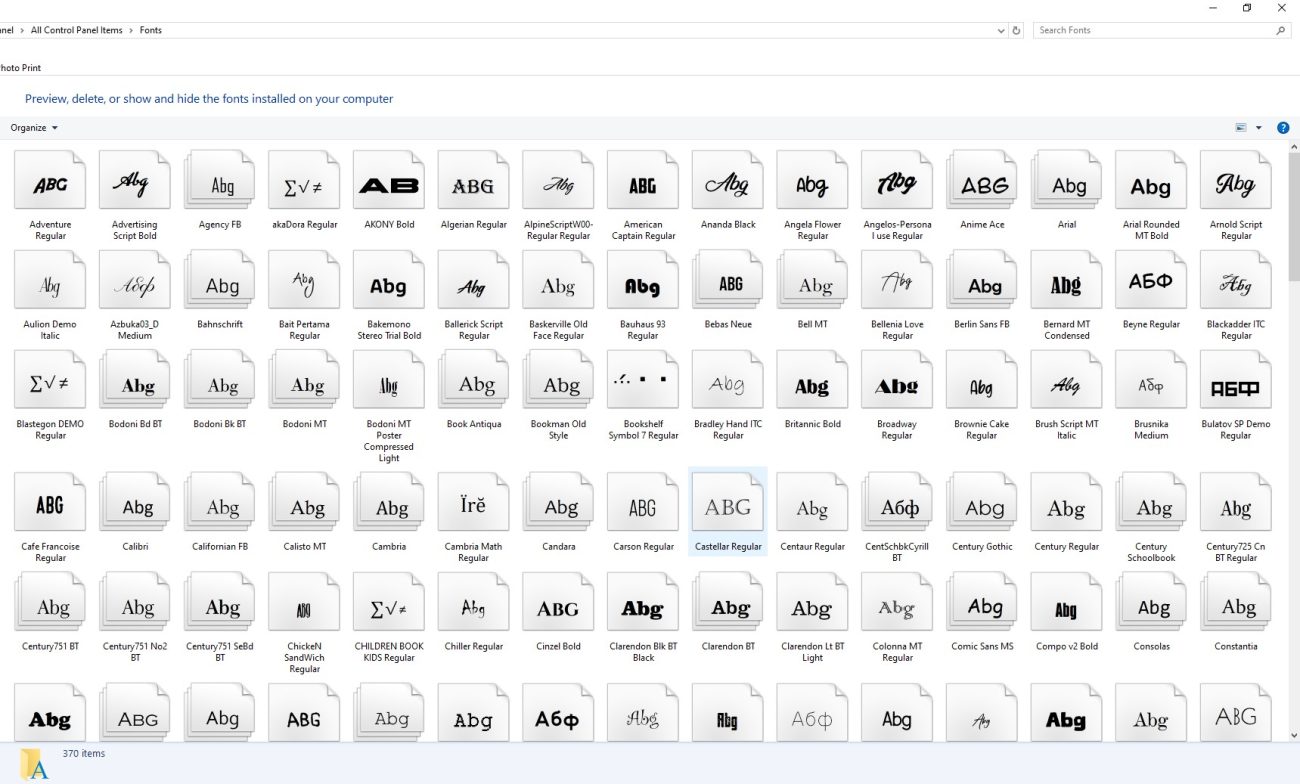
To install the font on your system, simply double-click on the font file (.ttf or .otf). A preview window will open, and you’ll see an option to click Install at the top. Once installed, the font will be available in Microsoft Word.
Step 4: Use the New Font in Word
Now that the font is installed, you can use it in your Word documents. Open Microsoft Word and click on the Home tab. In the font section, you should see the newly installed font listed among other available fonts. Select your new font, and begin typing to apply it to your document.
Step 5: Customize Your Fonts Further
Once you’ve added the font, you can further customize it by adjusting the size, color, and style. For example, you can make the font bold, italicized, or underlined, or change the font size to better fit your document’s needs.

Get your Office software instantly. Buy now and start working!