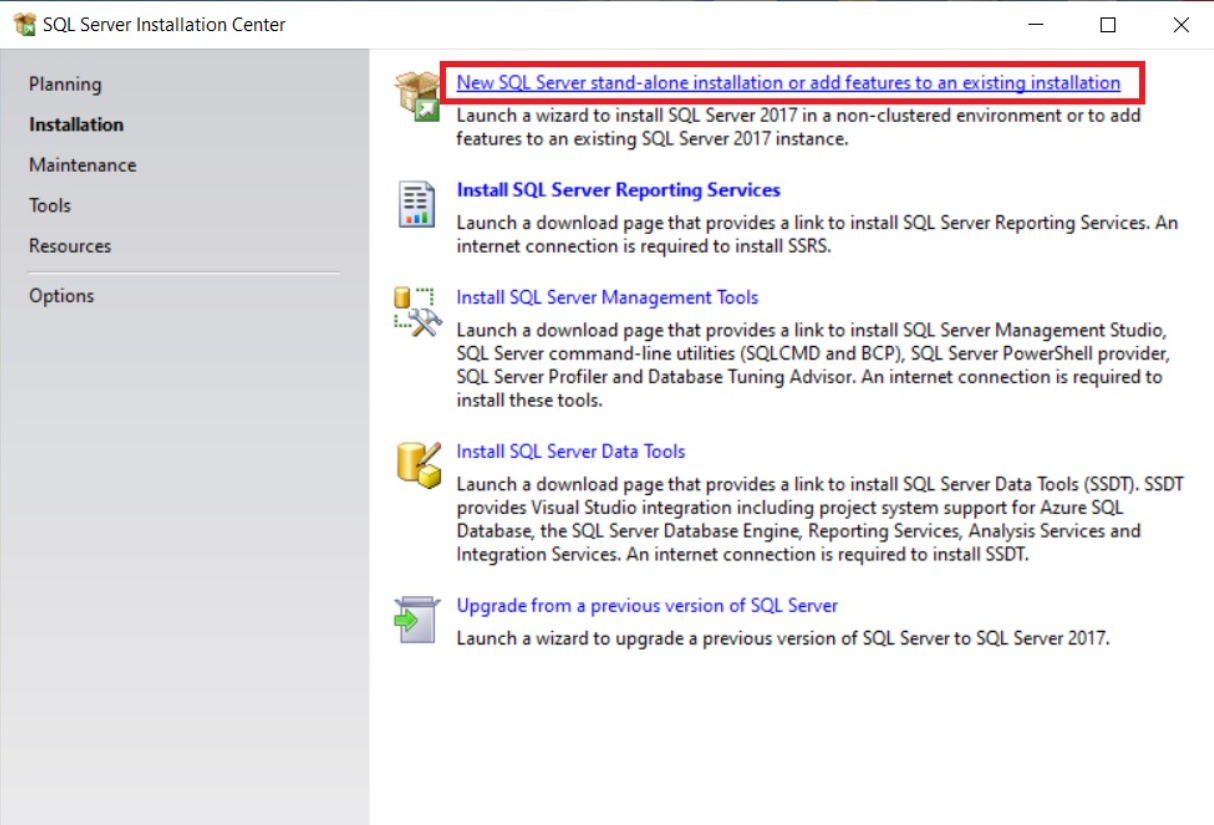
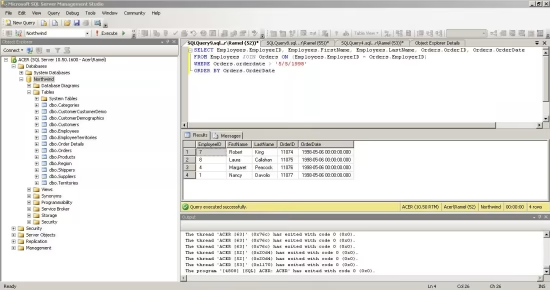
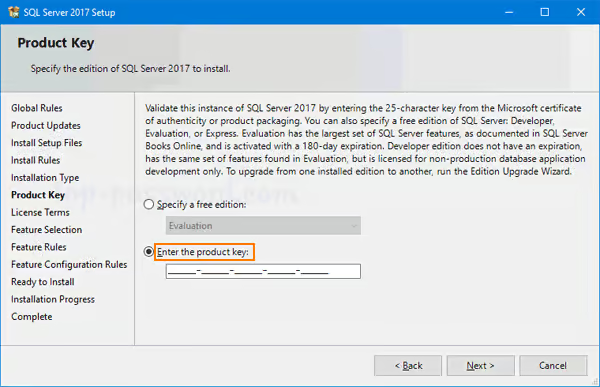
Blog, Guides SQL Server Installation & Activation Guide: A Step-by-Step Posted by Shop Manager February 21, 2025 On February 21, 2025 0 Step 1: Download and Install SQL Server Visit the official Microsoft SQL Server website and download the installer.Run the setup file and select the "New SQL Server Standalone Installation" option.Choose the edition:Select "Evaluation" for a free trial.Enter the product key for a licensed version.Accept the license terms and follow the on-screen instructions.Choose the required features (e.g., Database Engine, Analysis Services, Reporting Services).Set the authentication mode (Windows Authentication or Mixed Mode).Complete the installation and restart if needed. Microsoft Setup Web Step 2: Install SQL Server Management Studio (Optional) While optional, installing SQL Server Management Studio (SSMS) is recommended for managing databases easily.Download SSMS from Microsoft’s website.Run the installer and follow the instructions.Launch SSMS and connect to your SQL Server instance. Step 3: Activate SQL Serer To activate your SQL Server after installation:Open SQL Server Installation Center from the Start menu.Select "Edition Upgrade" to enter a product key.Input your valid SQL Server license key and click Next.Follow the prompts to finish the activation process.Restart SQL Server services to apply the changes. Live Chat Support Still Don't Have a SQL Server Key? Get your SQL Now Quick view Add to cart SQL Server 2019 Standard CD Key Microsoft 208.00 $